

Webflow makes it easy to design a site and publish it with a click. Translating that site is where things slow down.
The common options ask you to duplicate pages into language folders, copy text in and out of a translation tool, or set up each locale by hand in the Designer. That’s a lot of upkeep for a site you built to be low-maintenance.
AI translation cuts most of that work. You add one line of code to Webflow, choose your languages, and visitors can read your site in their own language. And all this is possible in a matter of a few minutes using Universally.
In this guide, I’ll show you how to translate your Webflow website using AI.
Why Translate Your Webflow Website?
A well-designed page can’t do its job if the visitor can’t read the content. If you’re getting traffic from other countries, translation is what turns those visits into readers and customers.
The trouble is that the usual ways of doing it in Webflow come with extra work:
- Duplicating pages doubles your upkeep. With the folder method, every edit to an English page has to be repeated in each language folder.
- The built-in option adds setup and cost. Webflow Localize is a paid add-on, and you set up and translate each locale inside the Designer.
- Client sites need a quick turnaround. If you build Webflow sites for clients, adding a language shouldn’t mean restructuring the project.
An AI translation tool that sits outside your Webflow project avoids all three, and that’s the approach I’ll use in this guide.
Translate Your Webflow Website With Universally
Universally is an AI website translation tool that translates your site into 110+ languages using context-aware AI. On Webflow, it connects with a single script tag in your site-wide head code. There’s no plugin to install and no duplicate pages to maintain.
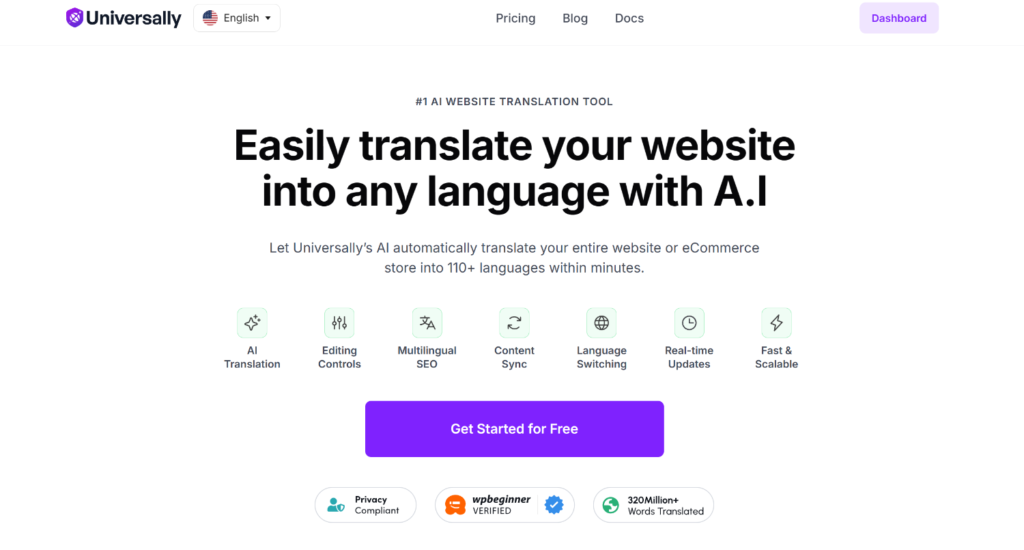
The best part is that the translations are applied in the visitor’s browser on the same pages, at the same URLs, so your Webflow project stays exactly the way you built it.
Universally isn’t limited to Webflow. It also works with WordPress, Framer, Squarespace, Lovable, and several other platforms. You can see the full list on the Supported platforms page.
Here’s what you get on a Webflow site:
- One script tag: You paste a single line into Webflow’s head code. Nothing else in your project changes.
- Your design stays intact: Layouts, interactions, and URLs stay the same in every language.
- Built-in language switcher: It appears in the bottom-right corner with flags and language names, and first-time visitors are matched to their browser language.
- More than body text: Page titles, meta content, and attributes like alt text, placeholders, and aria-labels are translated too.
- Language-by-language launch: Each language stays hidden from visitors until you switch it live.
- Glossary and manual editing: On paid plans, you can lock brand terms and correct any translated line.
Universally has a free plan with 1 website, 1 language, and 2,000 translated words. That’s enough to test it on a few pages. Paid plans start at $7.50/month (billed annually) and add more words and languages, plus glossary rules and the visual editor.
Step 1: Create a Webflow Project in Universally
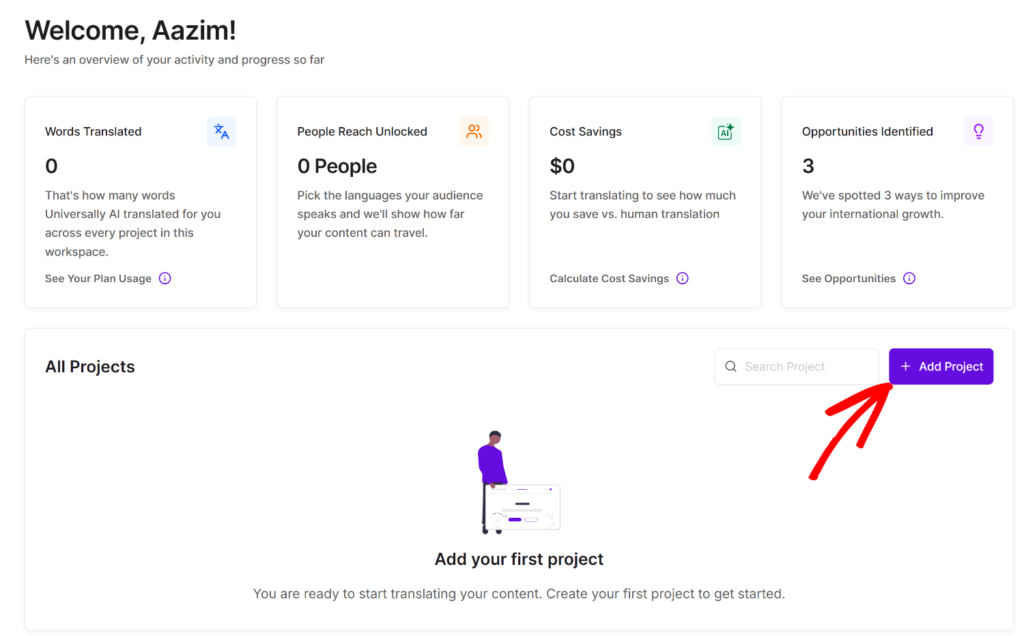
To get started, sign up for a free account at the Universally website. Once you’re in the dashboard, click + Add Project.
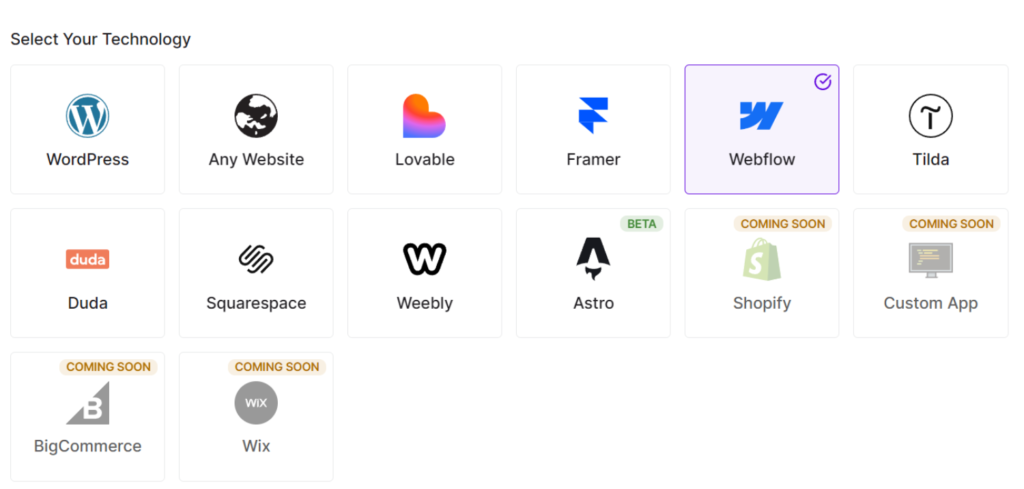
Next, you will need to select the platform your website is on.
Go ahead and under ‘Select Your Technology,’ choose Webflow.
Next, enter your site’s Domain, such as example.com, and give your project a Project Name.
Then confirm the Source Language, which is the language your site is written in. It defaults to English (American). Double-check this one, because a wrong source language gives you poor translations without any error message.
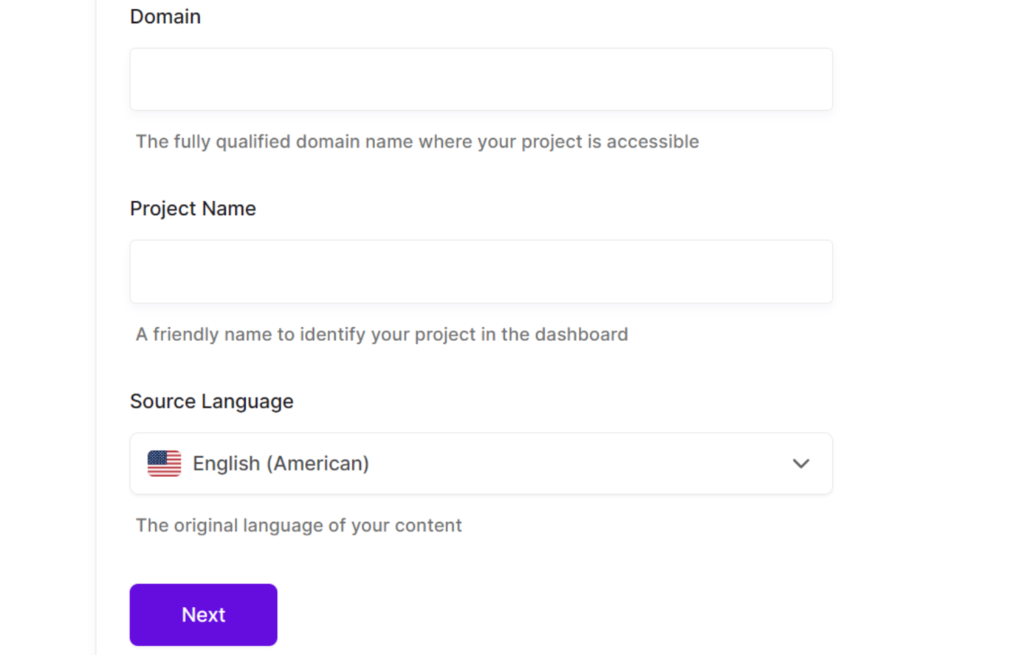
Simply click Next when you’re done.
Step 2: Add the Universally Script to Webflow
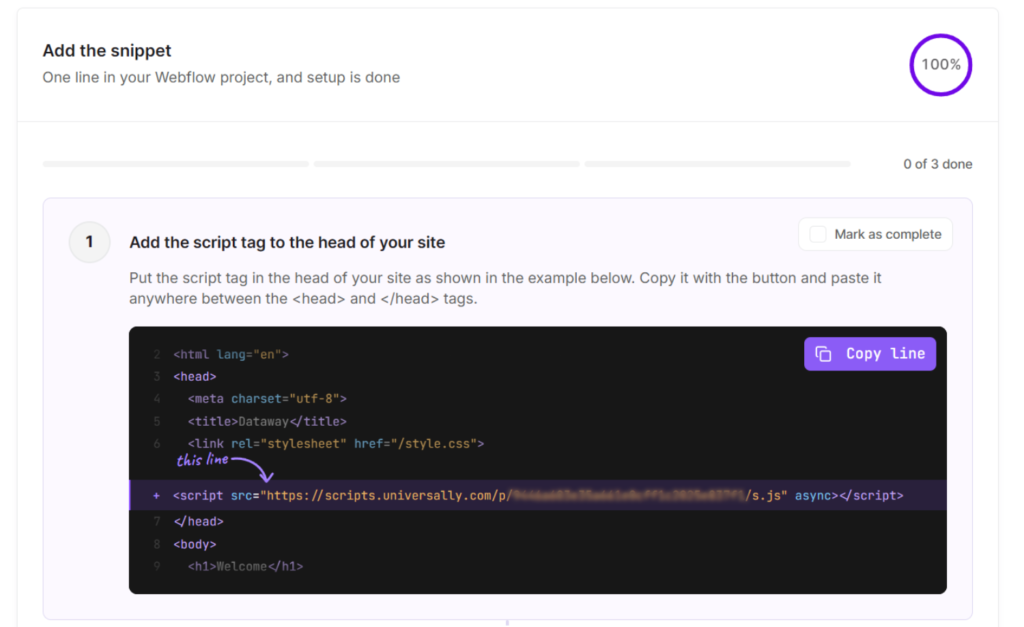
Universally now shows you a script tag with your project’s unique key. It looks like this:
<script src="https://scripts.universally.com/p/YOUR_PUBLIC_KEY/s.js" async></script>Go ahead and click Copy line.
Next, you can head to your Webflow project that you want to translate.
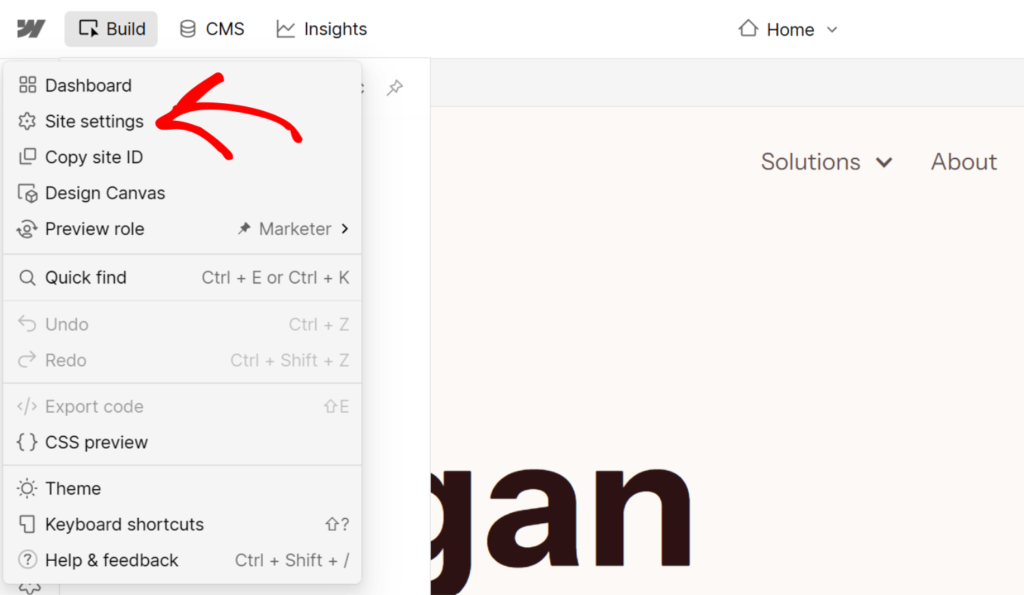
Simply click the Webflow icon in the top left corner and go to Site settings.
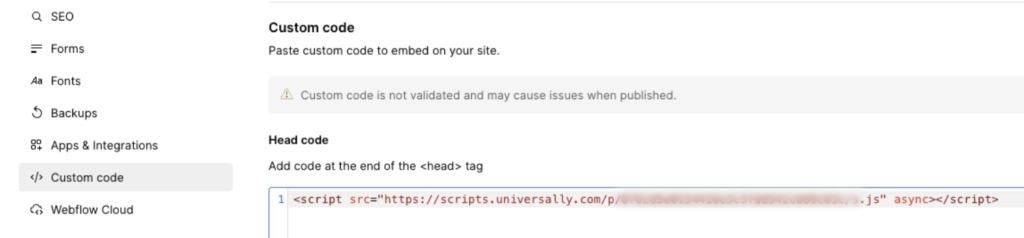
After that, you can head to Custom code » Head code and then paste the script.
Make sure you use the site-wide head code field rather than a single page’s custom code settings. That way, the script loads on every page of your site.
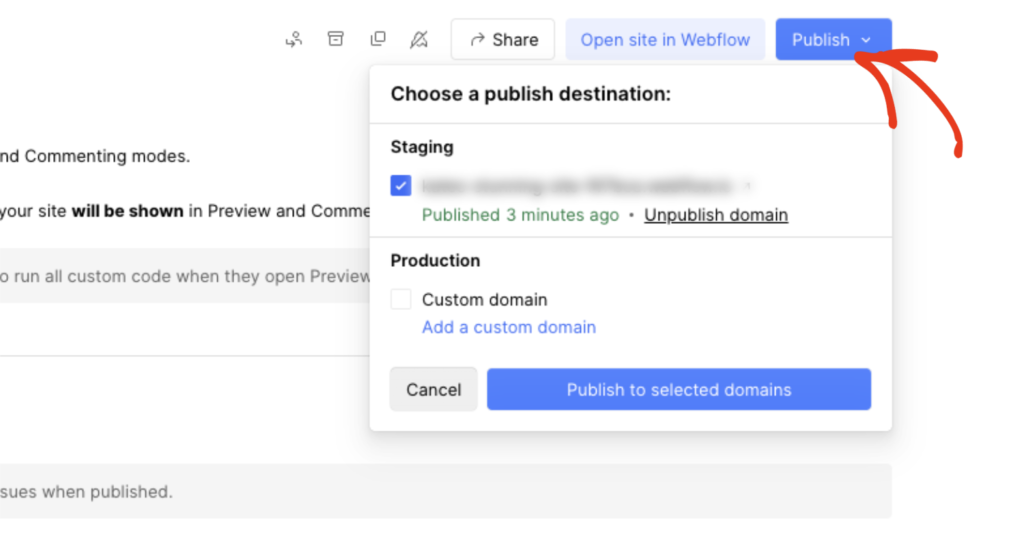
From here, click Save changes and then Publish these changes to your site.
Note: Custom code in Webflow needs an active Site plan or a Core, Growth, Agency, or Freelancer Workspace plan. If you don’t see the head code field, your plan is the first thing to check.
When that’s done, head back to Universally and click Check connection.
Universally loads your home page and confirms the script is in place.
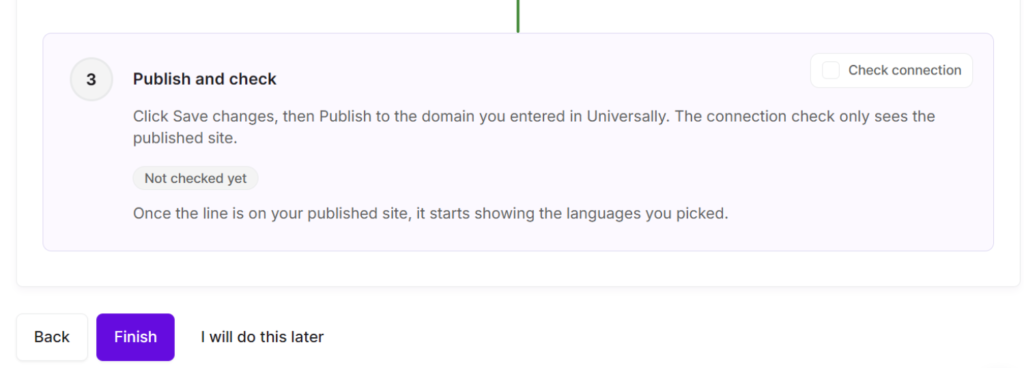
Pro Tip: If the check fails, make sure you published after saving. Unpublished changes in Webflow don’t include the script, and the check only looks at your home page.
Step 3: Choose Your Languages and Go Live
Once the connection is confirmed, you can pick the languages you want to offer.
Go ahead and click Add Language.
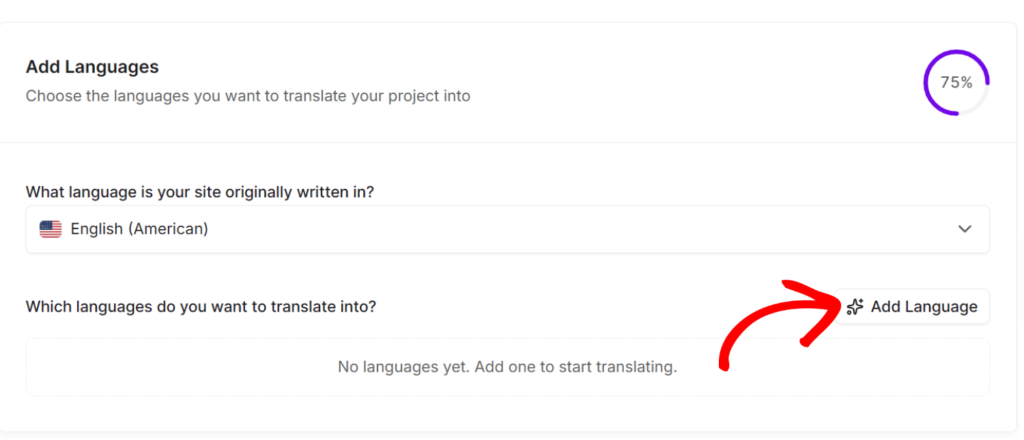
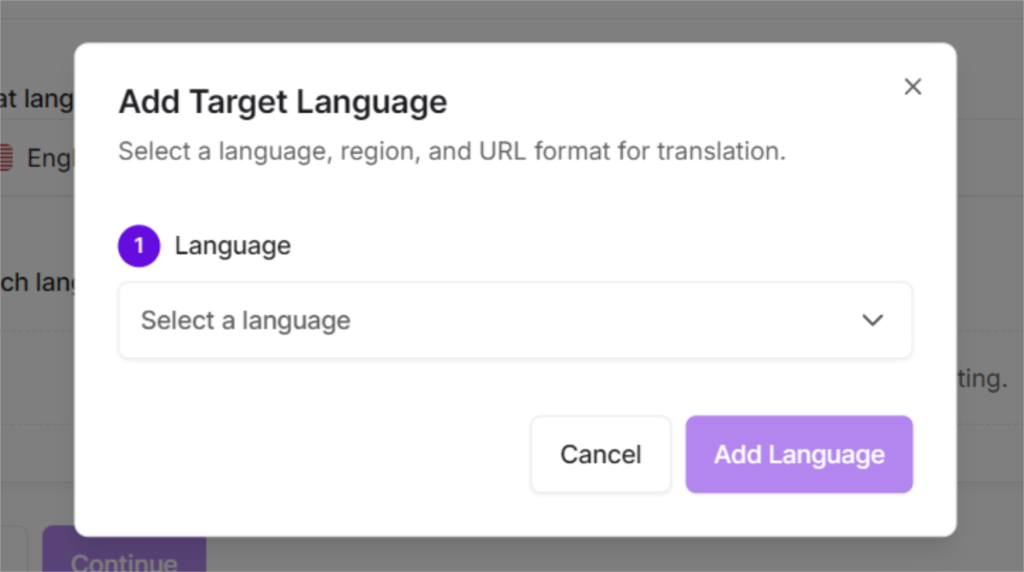
Next, you can click the dropdown and select from 110+ languages.
After selecting a language, you can then select a Region and URL Format.
When you’re done, simply click Add Language.
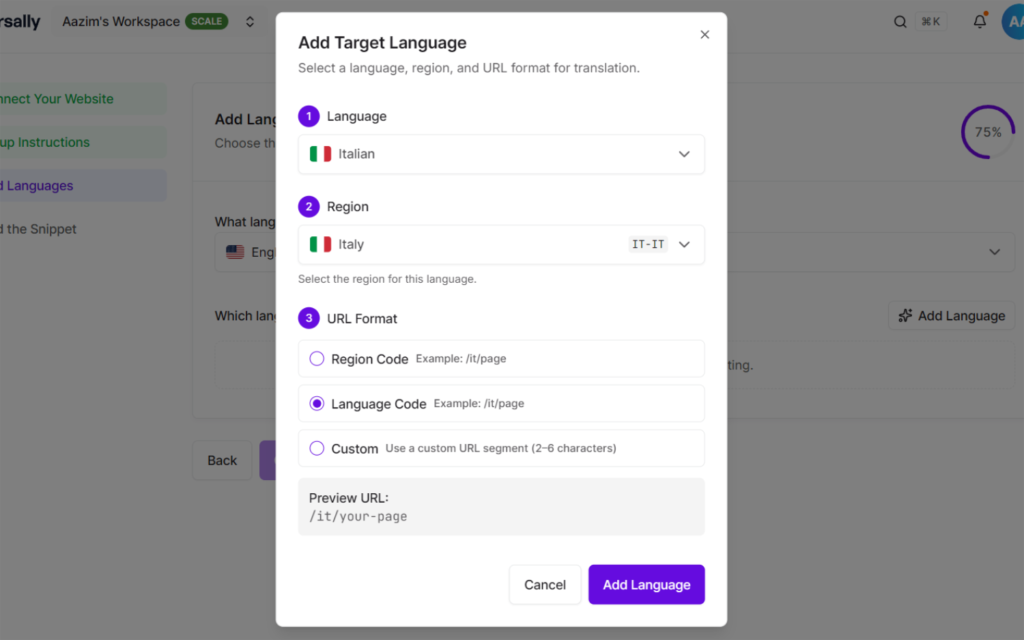
That’s it! Your Webflow website will now automatically translate into the languages you added.
To disable a language, you can turn off the Live switch next to it.
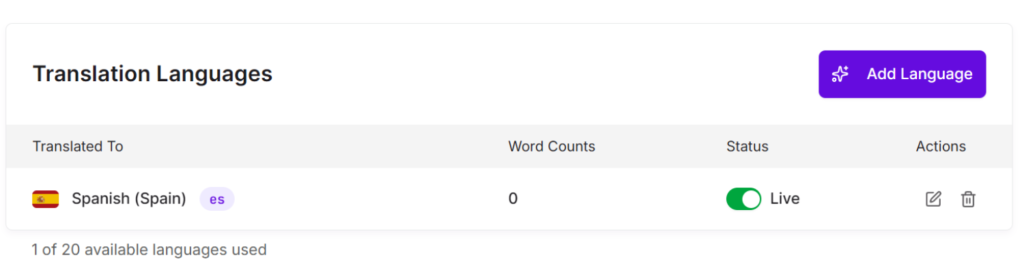
This is handy if you’re working on a client site. You can install the script early, review the translated pages, and switch each language live once the client signs off. If a market isn’t ready, turn its switch off, and the saved translations stay where they are.
Now, if you want to add more languages, go ahead and repeat this step.
Step 4: Test Your Translated Webflow Site
To check that everything works, open your published site in a private browser window, so you’re not seeing a cached version.
You should see the language switcher in the bottom-right corner. Pick your new language, and the page text switches over.
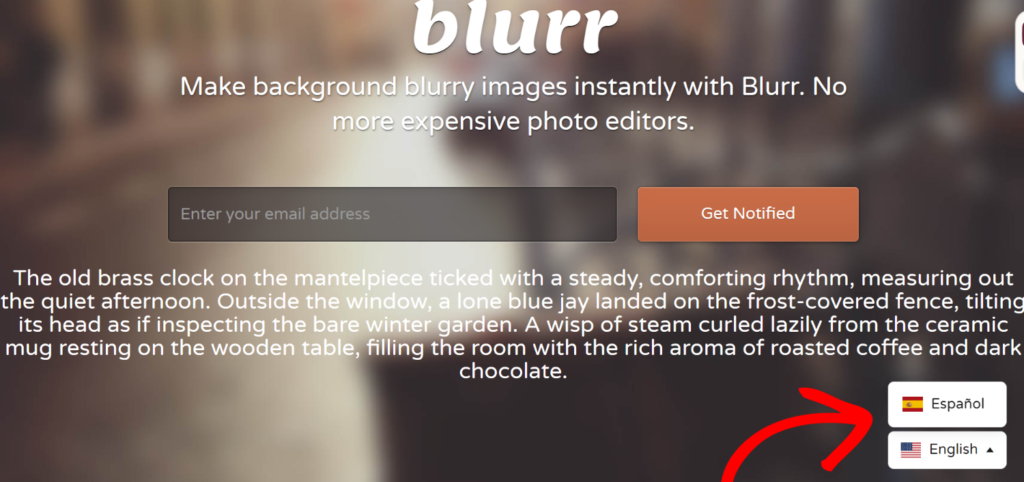
The first load in a new language can take a moment while the page is translated. After that, translations are cached, so repeat visits load without the wait.
Bonus: Fine-Tune Your Webflow Translations
AI translation gets you most of the way. These three settings help with the rest.
- Edit any translated line. On a paid Universally plan, open the Visual Editor from your project sidebar, filter by language, and click the text you want to change. This is really useful if you want to make sure your site looks visually stunning while keeping the translated content.
- Keep brand terms consistent. Glossary rules tell the AI to keep words like your brand or product names untranslated, or to always translate a term a certain way. Our guide on how to set up a translation glossary walks through it. The rules work the same way on Webflow.
- Leave some content untranslated. Go to Translation Rules and add the elements you want to skip in the Exclude CSS Selectors field, one per line, such as
.pricing-tableor#code-examples. You can also addtranslate="no"to an element in Webflow. Keep in mind that the Exclude Pages setting doesn’t apply to Webflow sites, so CSS selectors are the way to go. For more details, please see our include and exclude CSS selectors doc.
FAQs About Translating a Webflow Website
1. Do I need a paid Webflow plan to use Universally?
Universally needs Webflow’s custom code feature, which requires an active Site plan or a Core, Growth, Agency, or Freelancer Workspace plan. The Universally side can start on the free plan, which covers 1 website, 1 language, and 2,000 translated words.
2. How is Universally different from Webflow Localize?
Webflow Localize is Webflow’s built-in localization feature, where you set up each locale and manage its content inside the Designer. Universally works from outside your project with one script tag and translates pages on demand with AI.
3. Will translating my Webflow site affect my SEO?
Your existing rankings stay the same, because your URLs and source pages don’t change. Search engines keep seeing your original-language content. That also means the translated versions aren’t indexed separately, and Universally doesn’t add hreflang tags on Webflow sites.
4. Does Universally translate Webflow CMS content?
Universally translates the text in your published page HTML, which includes CMS content that Webflow renders into the page. Text that JavaScript adds after the page loads, like some third-party widgets, may stay in the original language.
5. Can I edit the AI translations?
Every translation can be edited on a paid plan. Open the Translations screen in your project, find the line, and click it to edit. Your change replaces the AI version and is marked as Verified. Universally keeps the last 50 versions of each translation, so you can restore an earlier one.
6. What won’t Universally translate on a Webflow site?
A few things stay in your original language. These include password-protected pages, text added by JavaScript after the page loads, and JSON-LD structured data. There’s also a ceiling of about 2,000 text strings per page, which most pages won’t come close to.
Once the script is in and your first language is live, adding another market takes a couple of clicks.
I hope this article helped you learn how to translate your Webflow website using AI. You may also want to see our guide on how to set up a translation glossary and how to translate WooCommerce checkout pages.


Add a Comment