
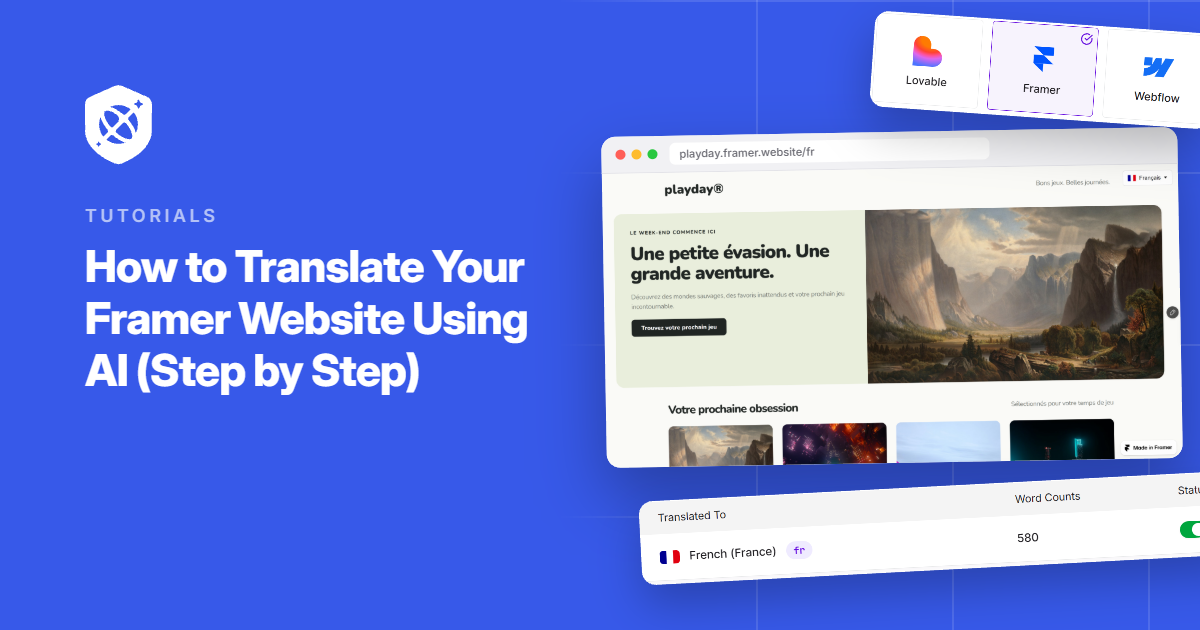
If you’ve searched for a way to translate a Framer site, you’ve probably found two kinds of answers. One is Framer’s own Localization add-on. The other is a long list of outside tools, each promising to do it in minutes.
Both can work. An outside tool tends to make more sense if you don’t want to pay per language, or you’d rather not manage translations inside your Framer project.
The setup I’ll use takes one line of code and a few minutes in Framer’s site settings. After that, AI handles the translation, and you decide when each language goes live.
In this guide, I’ll show you how to translate your Framer website using AI.
Why Translate Your Framer Website?
A lot of Framer sites are someone’s front door: a startup’s landing page, a designer’s portfolio, a SaaS marketing site. That’s where a new visitor decides whether to stick around, and they can’t do that if they can’t read the headline.
If your analytics already show visitors from other countries, translating the site gives them a reason to stay. Here’s what usually gets in the way on Framer:
- The native option is billed per language. Framer Localization is an add-on that costs $20 per locale, up to 20 locales. Every new language adds to the bill.
- Translations live inside your project. With native Localization, each locale is set up and managed in Framer itself, which is more to maintain as your site grows.
- Client sites need a light touch. If you build Framer sites for clients, you probably don’t want to restructure every project just to add Spanish.
A translation tool that runs outside your Framer project avoids those problems, and it’s the approach this guide follows.
Translate Your Framer Website With Universally
Universally is an AI website translation tool from Awesome Motive. It uses context-aware AI to translate your site into 110+ languages, and everything runs in the cloud.
On Framer, you connect it by adding one line of code in your site settings. Translations are applied in the visitor’s browser, so your Framer project, your pages, and your URLs all stay the same.
There’s one trade-off to know about up front. With this setup, search engines see your original-language pages, and Universally doesn’t add hreflang tags. Language subdomains aren’t available for Framer yet either. The JavaScript mode doc covers what this means in more detail.
Framer is one of several platforms Universally supports, alongside WordPress, Webflow, Squarespace, and others listed on the Supported platforms page.
Here’s what it gives your Framer site:
- One line of code: There’s no Framer plugin, no DNS records to change, and your site stays on Framer hosting.
- No locale setup in Framer: You don’t create language variants or duplicate pages in your project.
- Language switcher included: It sits in the top-right corner of your site with flags and language names. Picking a language reloads the page at the same URL.
- Titles and alt text, too: Universally translates page titles, meta descriptions, and attributes like image alt text along with the body copy.
- A Live switch per language: Visitors only see a language once you turn it on.
- Glossary and manual edits: Paid plans let you set rules for brand terms and correct any translated line.
You can start on the free plan, which covers 1 website, 1 language, and 2,000 translated words, and it doesn’t expire. Paid plans start at $7.50/month, billed annually [VERIFY on the pricing page], and add more words, languages, glossary rules, and the Translations editor.
Step 1: Create a Framer Project in Universally
Before you start, make sure you have three things in place:
- A paid Framer plan, because Framer only allows custom code on paid plans.
- Your Framer site published on your own domain.
- The Owner or Admin role in your Universally workspace, since the install snippet isn’t shown to other roles.
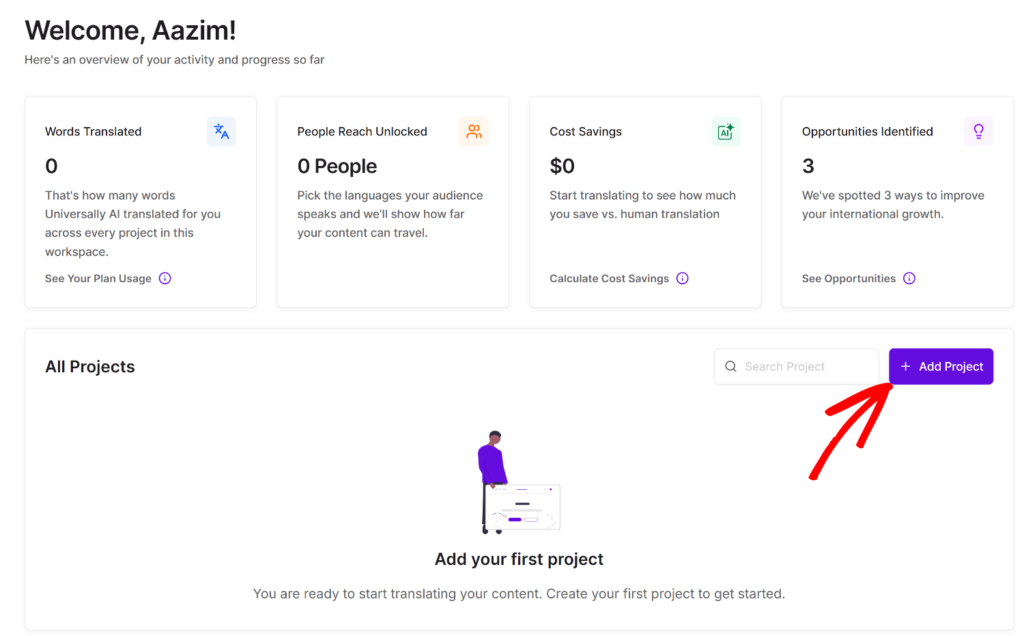
First, you will need to sign up for an account on the Universally website. Then, in your dashboard, click + Add Project.
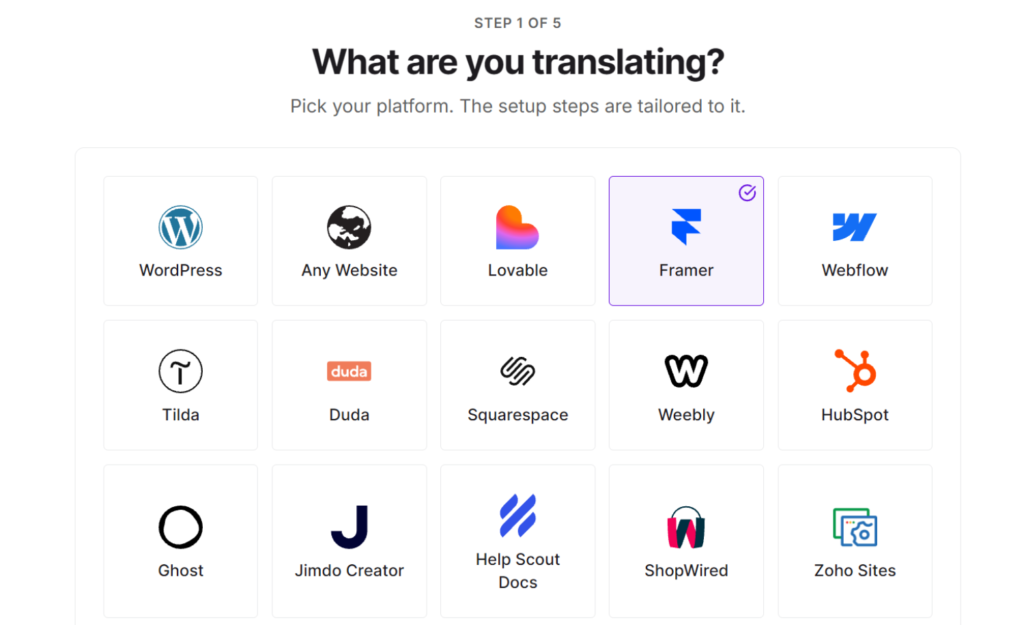
From here, under “Select Your Technology,” pick Framer.
Then fill in your project details. Enter your Domain as the full domain, like example.com and add a Project Name.
The Source Language is the language your site is written in, and it defaults to English (US). It’s worth a second look, because if it’s wrong, you’ll get poor translations and no error to tell you why.
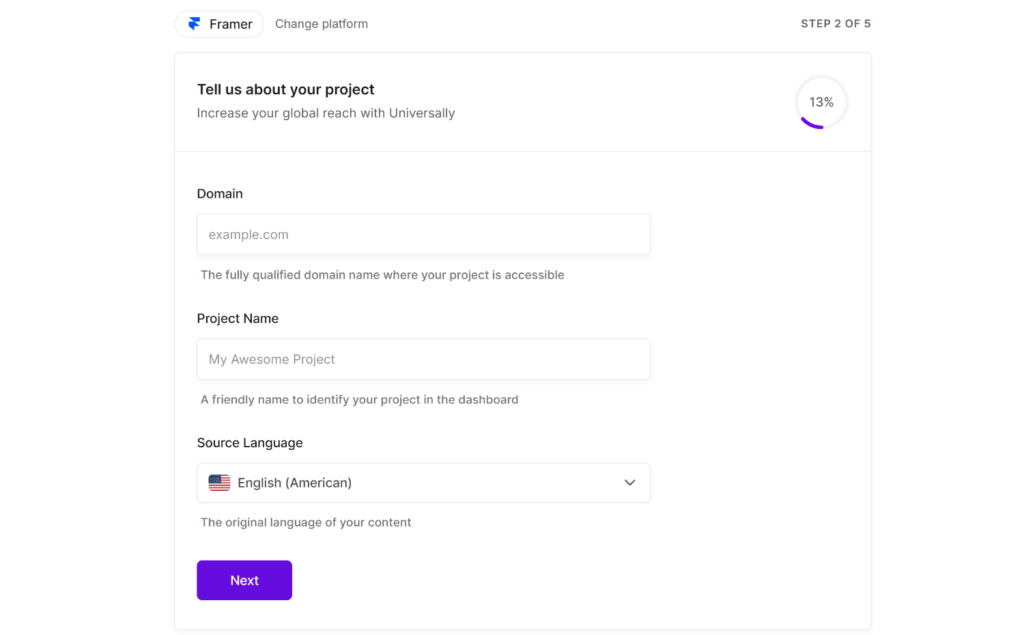
After entering these details, click Next to continue.
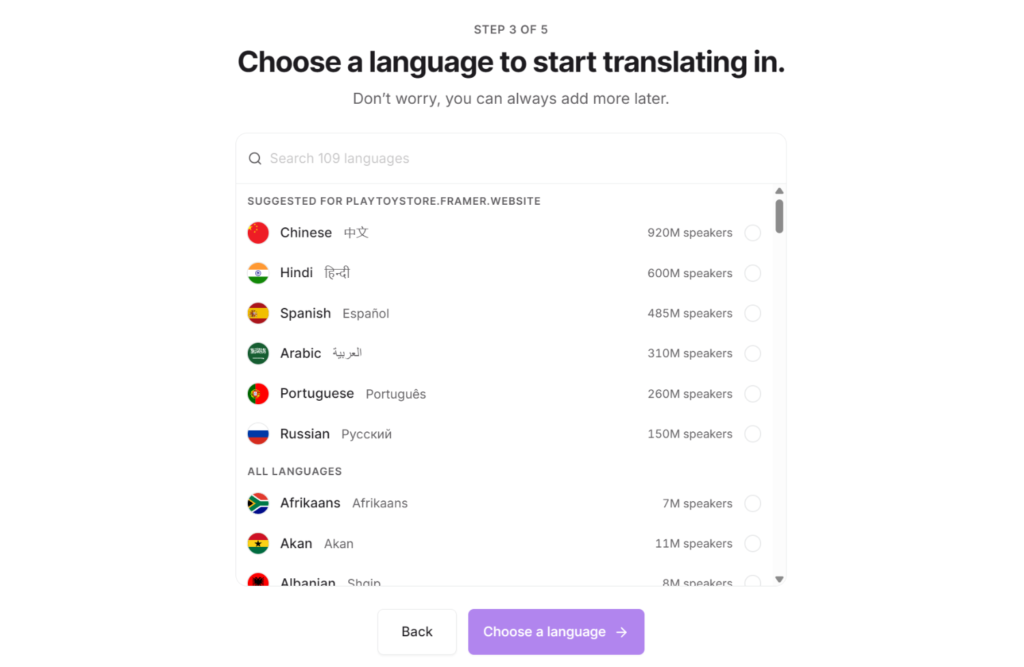
Then, you’ll have to add a language to translate. Simply choose one from the list and click Choose a language.
Next, you will see a preview of your website with the language URL at the top.
For example, we selected French as the language for our demo Framer website.
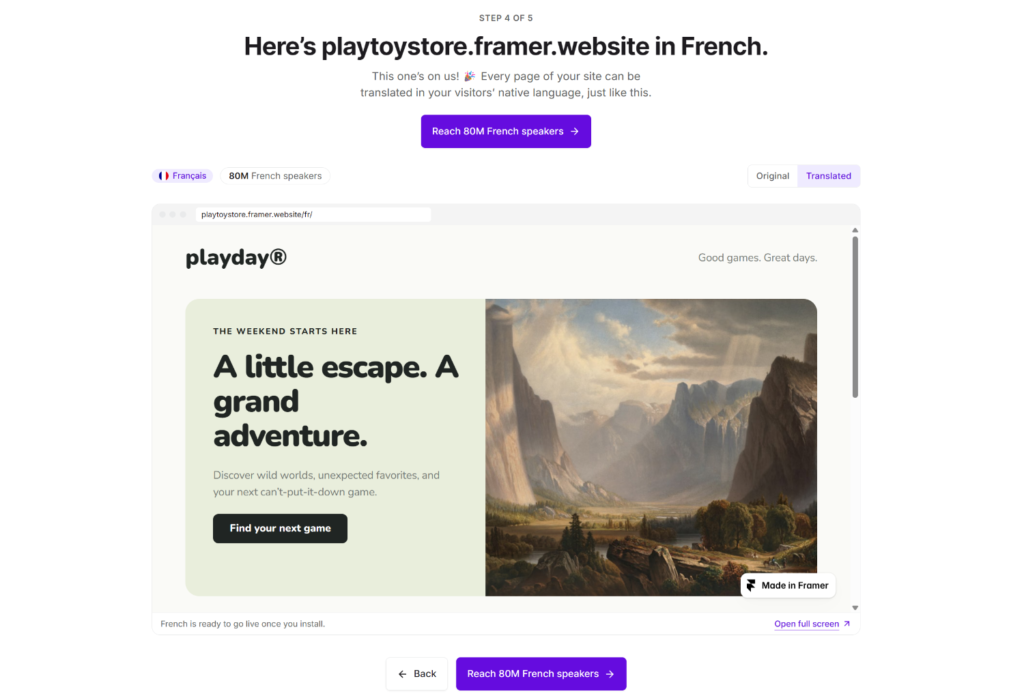
Go ahead and click the Reach 80M French speakers button to move ahead.
Step 2: Add the Universally Script in Framer
On the next screen, Universally will guide you through adding the script tag to your Framer website.
It will show a script with your project’s unique key that looks like this:
<script src="https://scripts.universally.com/p/YOUR_PUBLIC_KEY/s.js" async></script>Simply copy that line from your dashboard.
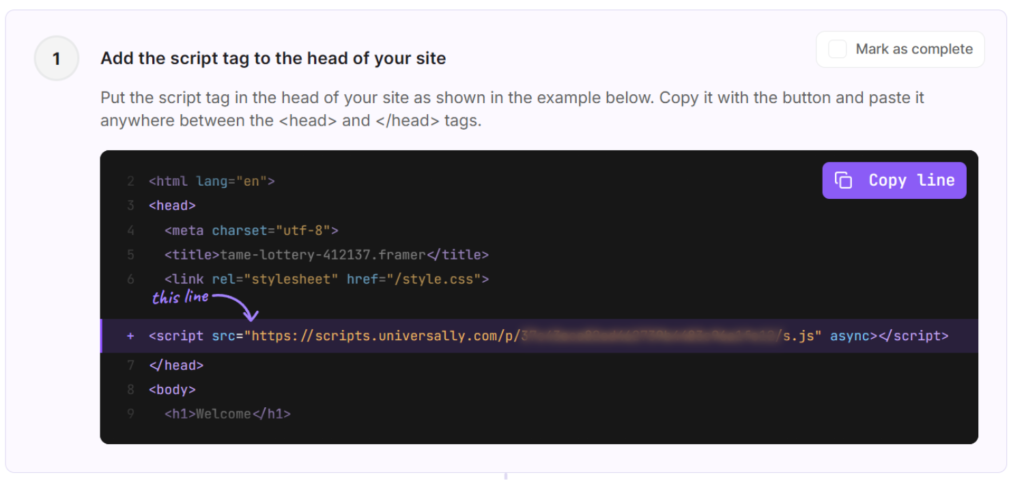
Now open your project in Framer and go to Site Settings » Code.
Go ahead and click Add script to create a new code snippet.
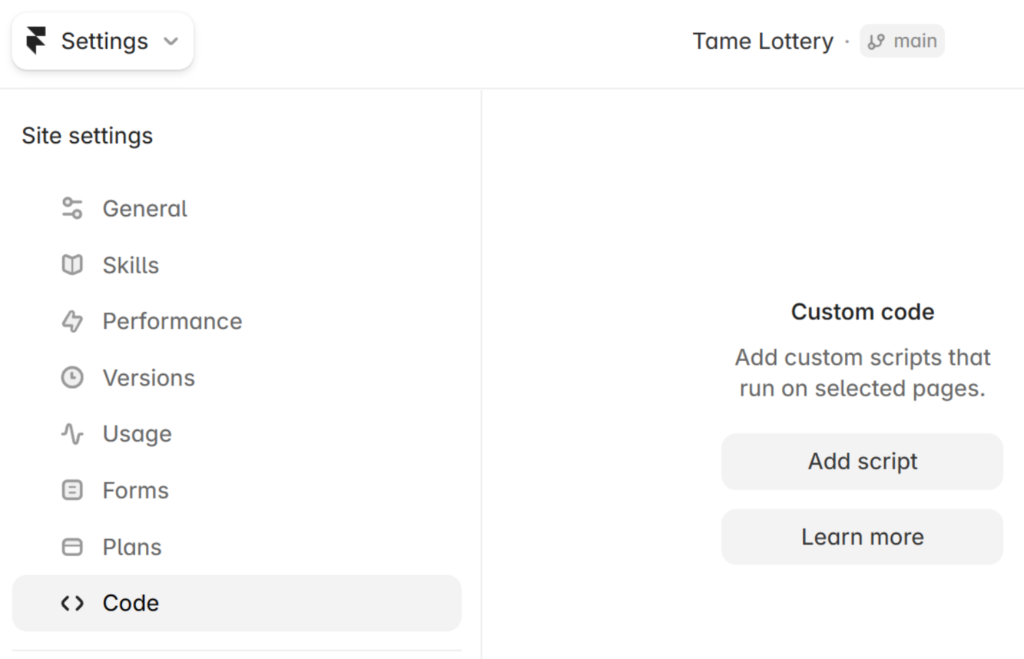
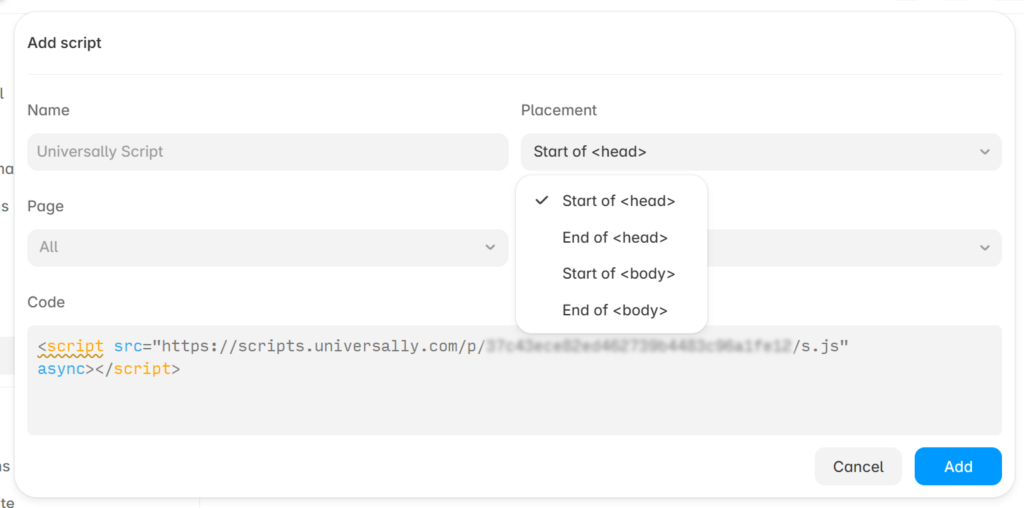
Framer asks for a few settings here. Choose these:
- Placement: Start of
<head> - Pages: All
- Run: Once
Then paste the Universally script tag into the code field and click Add.
Step 3: Publish Your Site and Check the Connection
Framer won’t serve the script until you publish, so click Publish in the top-right corner of the editor.
Once your site is live, switch back to Universally and click Check connection. Universally loads your home page and checks that the script is there and belongs to this project.
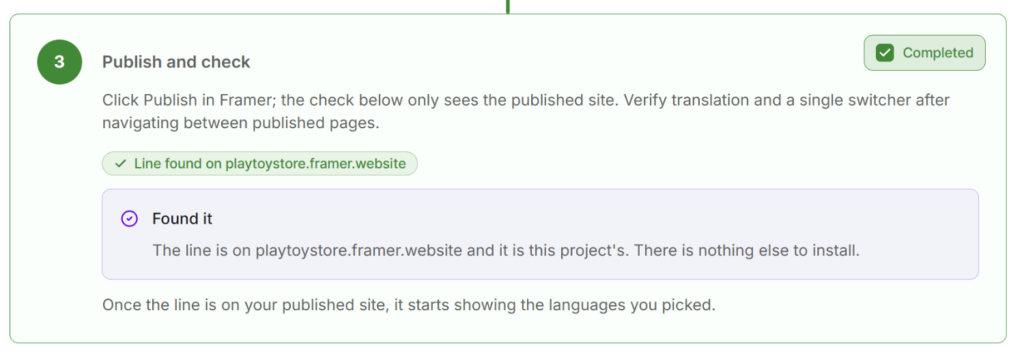
Pro Tip: If the check can’t find the script, publish again. Then check whether your host or a CDN is caching an older copy of your home page.
Step 4: Test Your Translated Framer Site
After the connection goes through, your Framer website is now ready to reach audiences in different languages.
Keep in mind that Universally translates a page the first time someone opens it in that language. That’s also the moment those words count toward your plan, so nothing is spent until a page is actually visited.
You can add more languages anytime from All Languages » Add Language in your project.
To see your site the way a new visitor would, open it in a private browser window.
The language switcher should appear in the top-right corner. Choose your new language, and the page reloads in that language at the same URL.

From there, click through a few pages to make sure the translation carries over as you navigate.
Bonus: Fine-Tune Your Framer Translations
Once your first language is live, there are three settings worth knowing about.
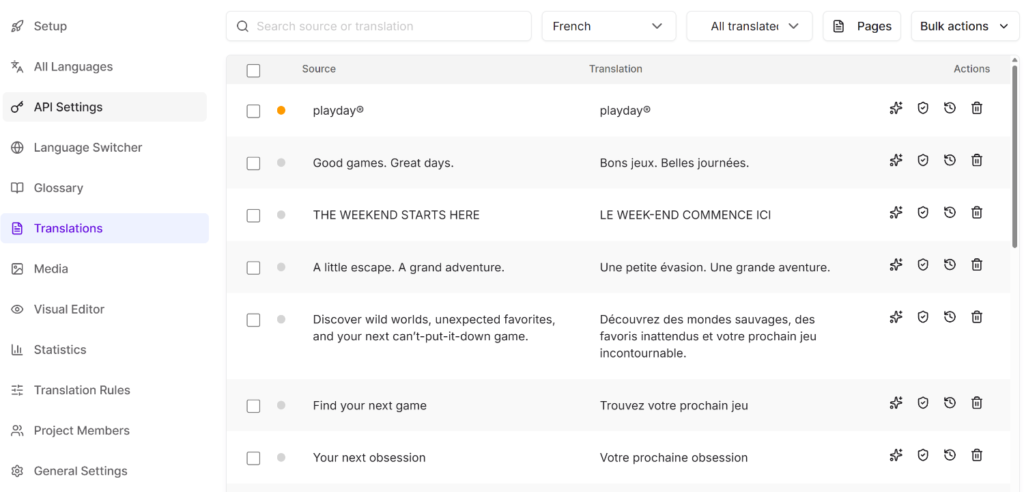
Correct a translation. On a paid plan, go to Translations in your project sidebar, filter by language, and click the line you want to change. When you save, the string is marked Verified, so you can tell your reviewed edits apart from the AI’s output.
Protect brand and product names. Glossary rules, also on paid plans, let you keep certain terms in the original language or force a specific translation for them. They work the same way on Framer as on any other platform.
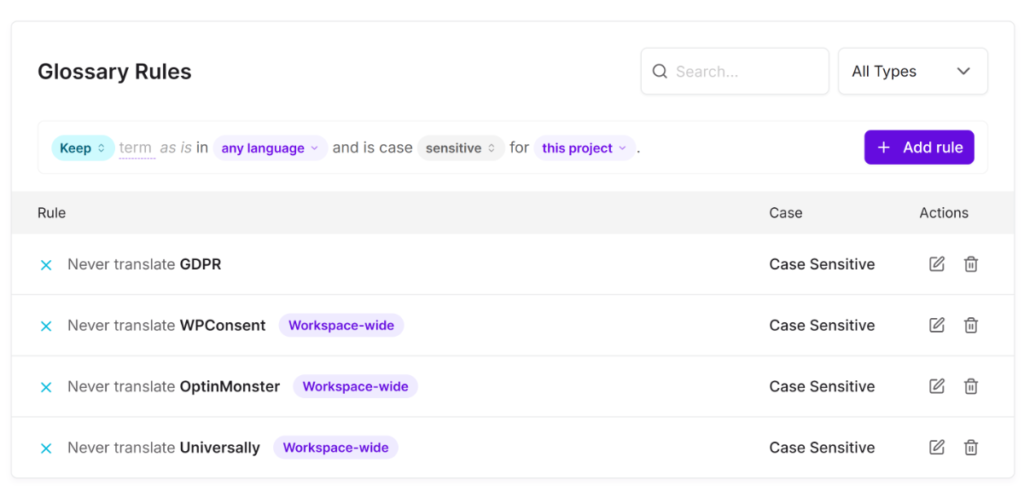
You can follow our guide on how to set up a translation glossary for the full walkthrough.
Skip parts of a page. If there’s content you don’t want translated, like a code sample or a list of client logos with names, go to Translation Rules and add its CSS selector under Exclude CSS Selectors. The Exclude Pages setting has no effect on Framer sites, so selectors are the way to leave content out.
See the include and exclude CSS selectors doc for examples.
FAQs About Translating a Framer Website
1. How is Universally different from Framer Localization?
Framer Localization is built into Framer, and you set up and manage each locale inside your project. It’s billed per locale. Universally runs outside Framer from one line of code and translates pages with AI when visitors open them. Framer Localization does have an advantage for SEO: it gives each language its own URL and adds hreflang tags, which Universally doesn’t do on Framer.
2. Do I need a paid Framer plan to use Universally?
Universally relies on Framer’s custom code feature, and Framer only offers custom code on paid plans. On the Universally side, you can start free with 1 website, 1 language, and 2,000 translated words.
3. Will translating my Framer site affect my SEO?
Your current rankings won’t change, because your URLs and original pages stay exactly as they are. Search engines keep indexing your source language. The flip side is that your translated pages aren’t indexed separately, and there are no hreflang tags on Framer sites.
4. Does Universally translate Framer CMS content?
Universally translates the text that’s in your published page HTML, which should include CMS items that Framer renders onto the page. Text that JavaScript adds after the page loads, such as some embedded widgets, may stay in the original language.
5. What parts of a Framer site won’t be translated?
A few things stay in your original language. Login-protected pages aren’t translated, and neither is text that JavaScript adds after the page loads or JSON-LD structured data. There’s also a limit of about 2,000 text strings per page, which is far more than a typical landing page uses.
With the script in place, adding your next language is just a matter of picking it and turning on its Live switch.
We hope this article helped you learn how to translate your Framer website using AI. You may also want to see our guide on how to edit WordPress translations directly on the page and how to translate the cart and checkout pages in WooCommerce.
Ready to take your Framer website global? Get started with Universally for free.


Add a Comment