
Recently, I came across a situation while translating my personal website where the translation came back to me looking perfectly fine on its own. “Add to Cart” had become “Ajouter au panier,” correct French, no complaints there.
Then I looked at the actual button. The French version ran long enough to wrap to a second line, pushing the price next to it out of alignment. Nothing about that showed up when I was reviewing a list of source text next to translated text. It only showed up once I looked at the page.
That’s the gap between a translation being technically right and a translation actually working. You don’t catch it in a spreadsheet. You catch it by looking at the page itself, in the language you’re checking.
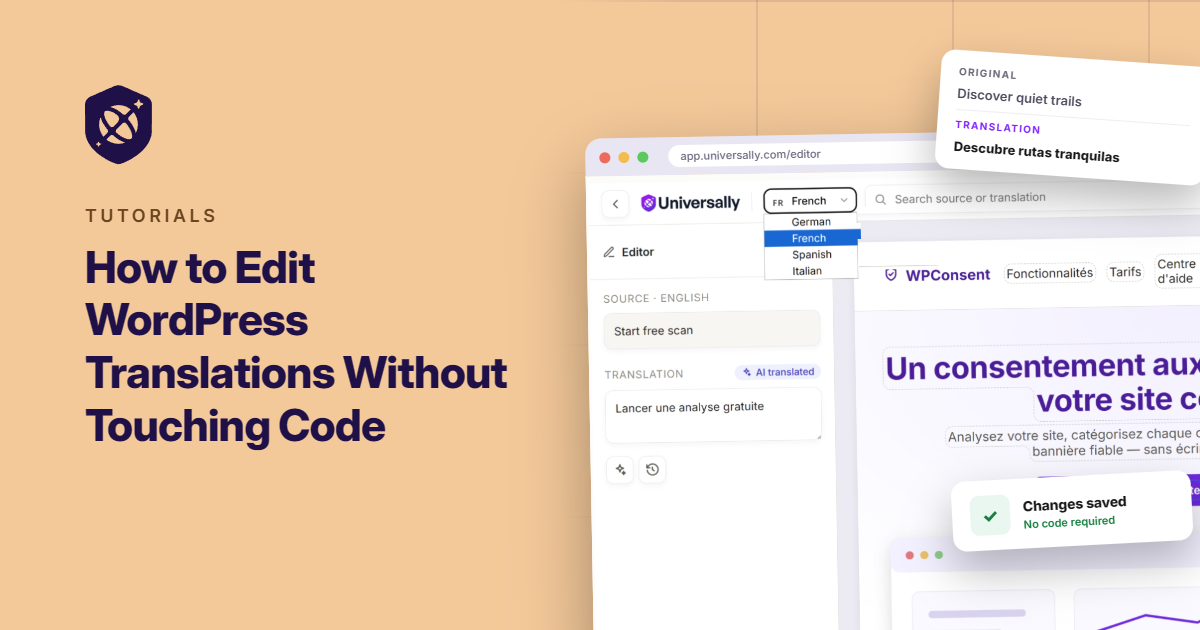
In this guide, I’ll show you how to edit WordPress translations directly on the page, without opening a single line of code.
Why You’d Want to Edit a Translation Yourself
Context-aware AI translation gets you most of the way there automatically. It picks up on tone and meaning instead of swapping words one for one, so most strings come back reading like something a person actually wrote.
However, a few things reliably slip through that you should keep an eye out for:
- Length mismatches. For instance, German and Finnish words run long. A headline or button that fit in English can wrap awkwardly or get cut off once it’s translated.
- Brand-specific phrasing. The AI might translate a phrase correctly and still miss the specific tone you use for that exact sentence elsewhere on your site.
- Context the AI can’t see. A word can have more than one correct translation depending on what’s around it, and the AI sometimes picks the technically fine option instead of the one that actually fits your page.
You usually only catch this by looking at the rendered page, not a list of strings.
Edit WordPress Translations Using a Visual Editor
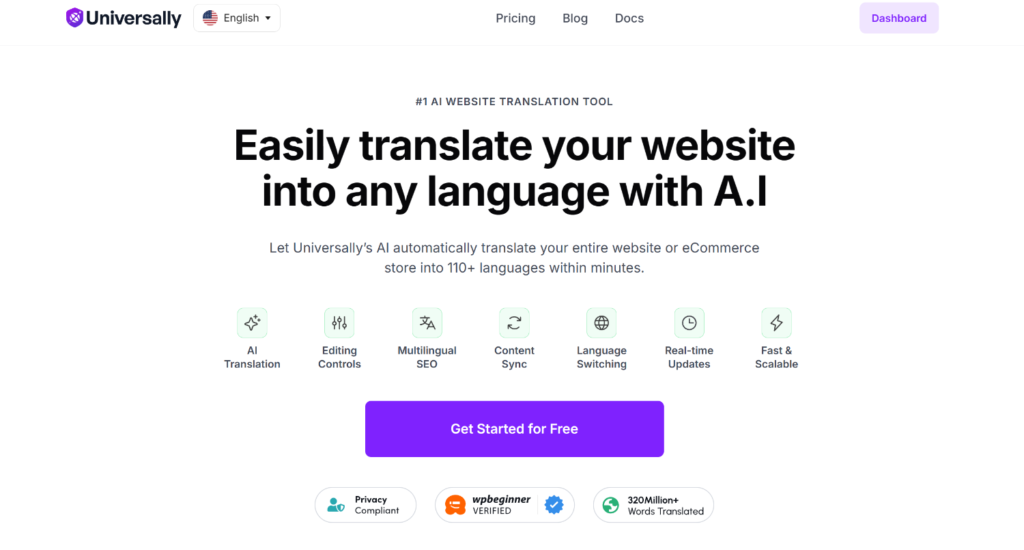
This is exactly what Universally‘s Visual Editor is built for. Instead of managing translations from a separate list, you edit them right where they appear on your live site.
Universally is the AI translation tool built by the team behind WPBeginner, WPForms, and AIOSEO. It’s cloud-based. This means that translated content is processed and served from an external layer instead of writing anything into your WordPress database.
Plus, it translates your whole site, including posts, pages, menus, and WooCommerce content, into 110+ languages using context-aware AI.
Here’s what you get with it:
- Real-time editing on the actual page: click any headline, button, or paragraph, and edit the translation exactly where it sits, not in a separate string list
- A language switcher built into the editor: flip between every language you’ve added and see the same page render in each one
- A status on every string: AI-translated, verified, or unchanged from the source, so you can see at a glance what’s already been reviewed
- No code required anywhere: setup and editing both happen from the Universally dashboard
- Context-aware AI translation across 110+ languages as the starting point, so you’re fine-tuning, not translating from scratch
You can try Universally for free (2,000 words, one language), with paid plans starting at $7.50/month once you need more room to grow and scale your website.
Now, let’s look at how you can set it up and use the visual editor to make changes to your translated content in real time.
Step 1: Create Your Universally Account and Connect WordPress
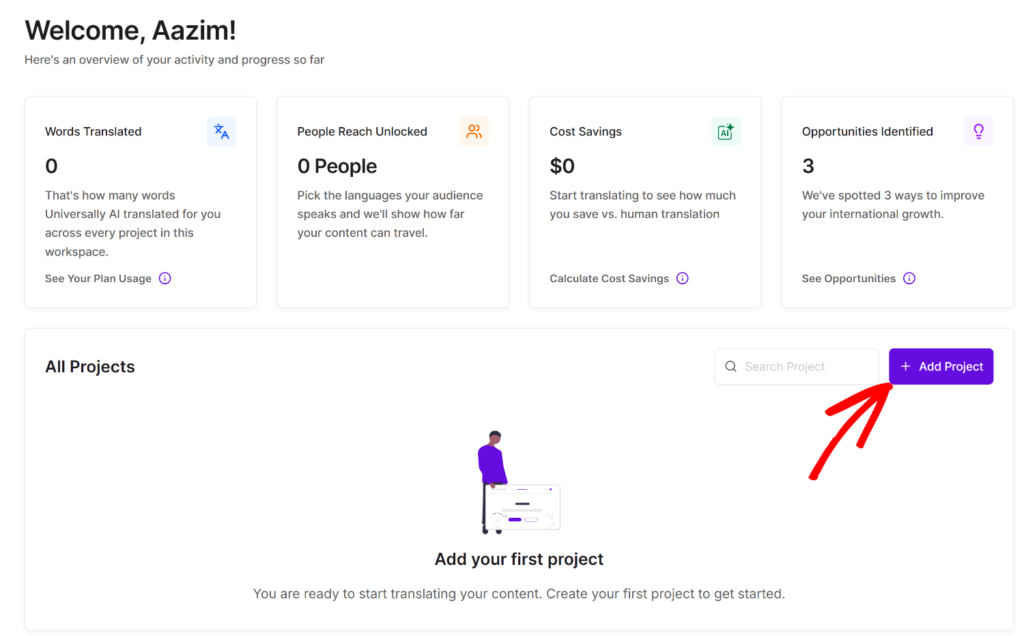
If you haven’t set this up yet, head to the Universally website and sign up for a new account.
Once you’re in the dashboard, you can click + Add Project to get started.
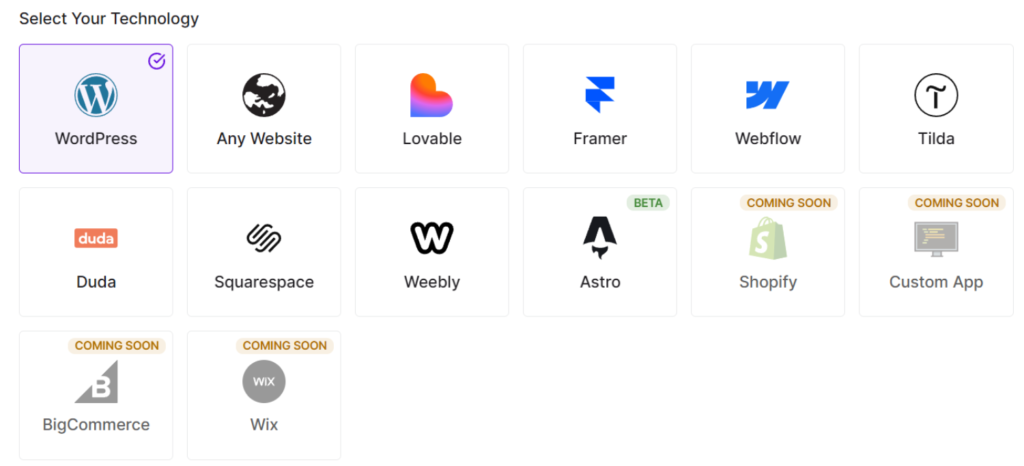
From there, pick WordPress under the “Select Your Technology” section.
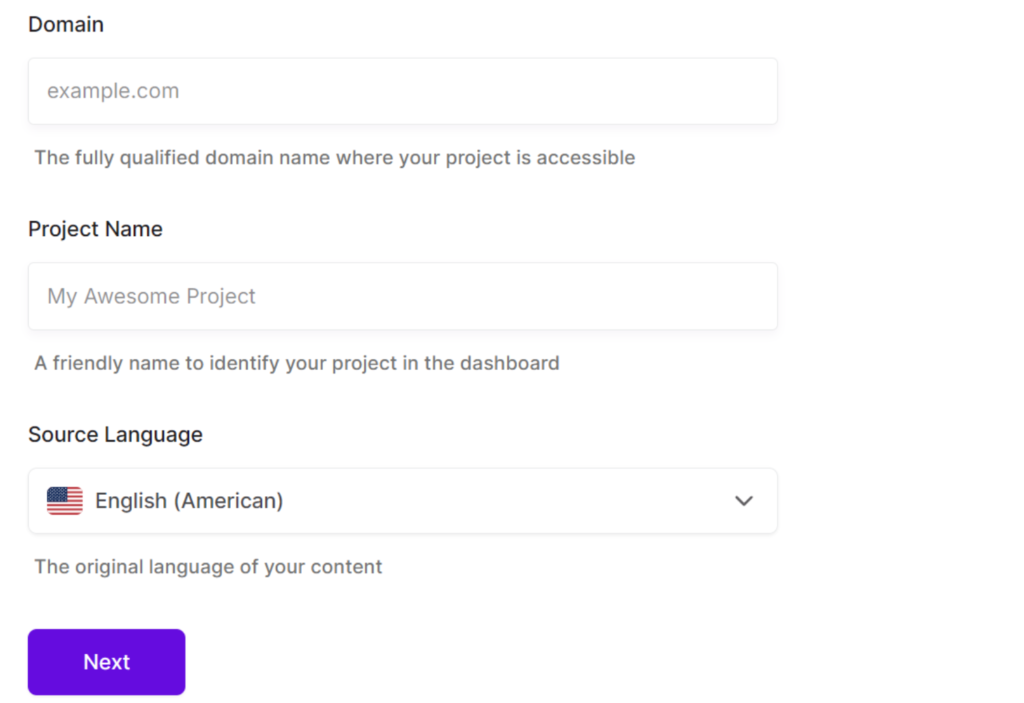
Then, you will need to fill in your site’s domain, give the project a name, and set your source language.
When you are done, simply click Next.
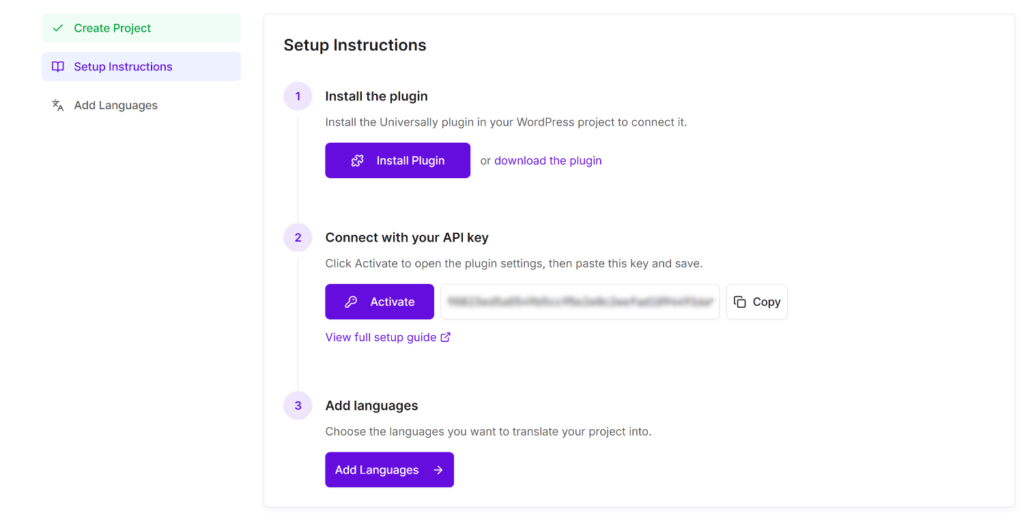
You’ll see instructions for installing the plugin.
Simply click Install Plugin, or grab the .zip file and upload it manually to your WordPress site.
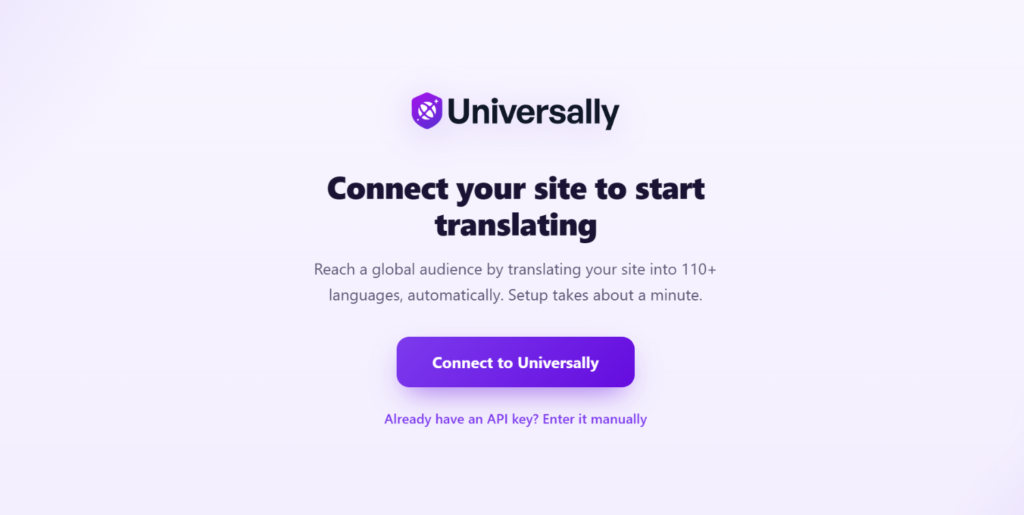
Once it’s activated, click Connect to Universally and follow the setup wizard to finish linking your site.
Once you’ve connected your site, you can now add languages to translate your pages, posts, products, and other content.
If you want the full walkthrough, see our guide on how to create a multilingual WordPress website.
Step 2: Open the Visual Editor
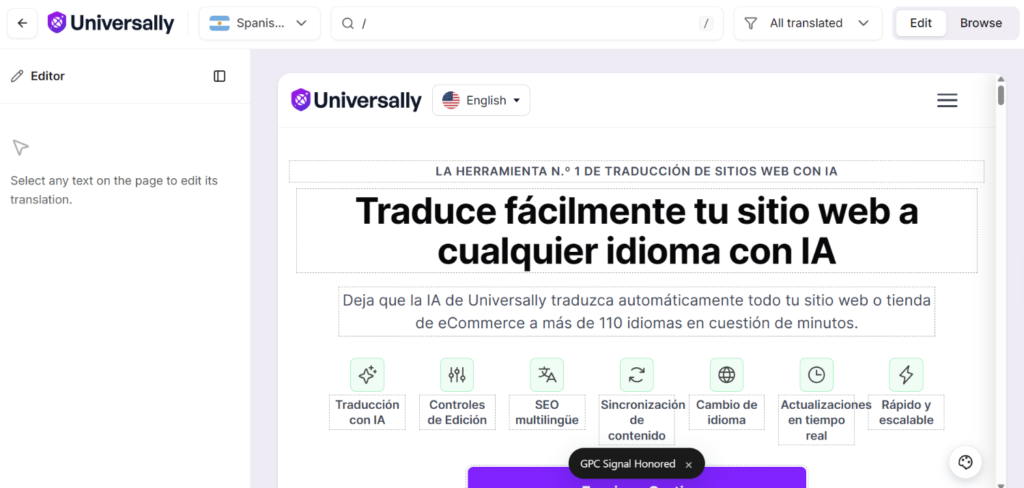
Now that your site is translated into different languages, you can use the Visual Editor to make changes to your site in real time.
From your Universally dashboard, go ahead and click the Visual Editor tab.
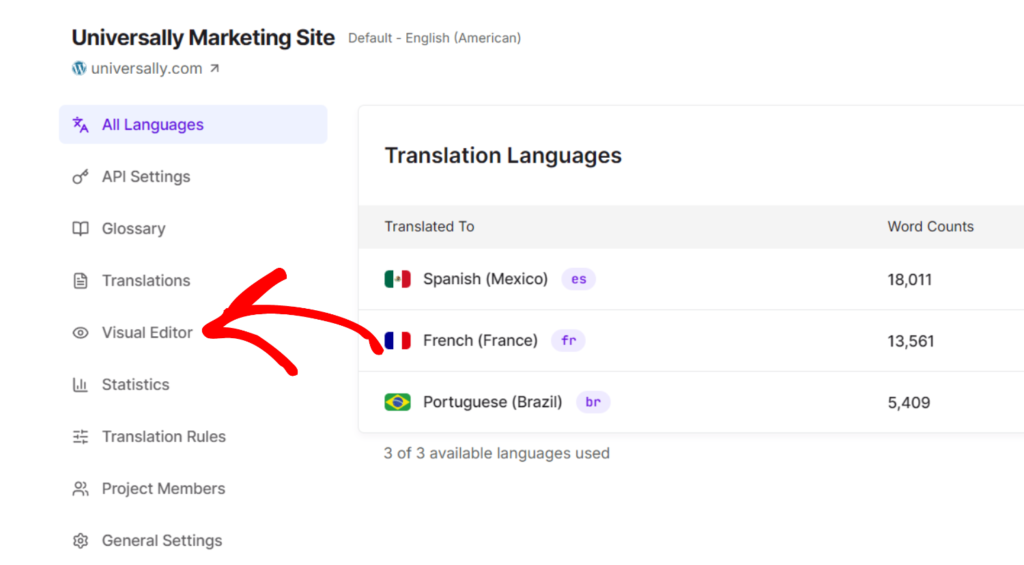
Now, you’re not looking at a mockup or a preview.
This is your real, live site, rendered exactly as a visitor would see it.
Step 3: Click Any Website Element to Edit It
Next, you can click directly on any text on the page, a headline, a button label, or a paragraph, and the editor opens that exact spot with a visible outline. You’re never guessing which string you’re about to change.
From there, simply view the source language and the translation in the panel on your left. Simply type your edit and watch it land on the page as you go, in the same layout, next to the same images and spacing your visitors will actually see.
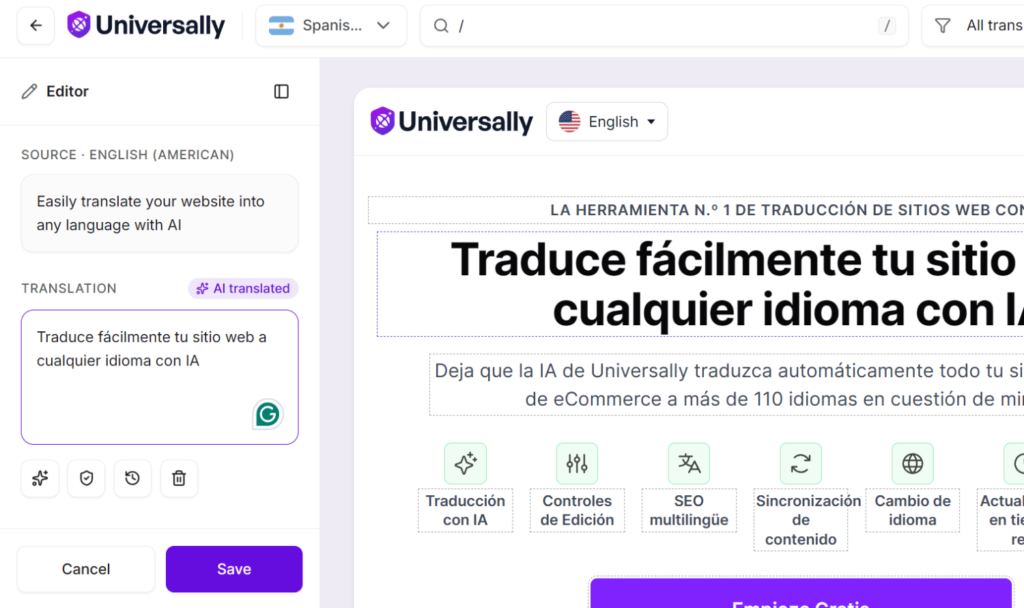
This is where the button-wrap problem from the intro gets caught and fixed, in the same view where you spotted it.
Step 4: Switch Languages and Check the Status of Each String
Use the language switcher at the top of the editor to flip between every language you’ve added. Reviewing the same page in each one is the fastest way to catch a problem that’s specific to one language, like a translation that’s a few characters too long.
While you’re reviewing, check the status next to each string:
- AI-translated: the AI’s first pass, not yet reviewed by a person
- Verified: someone’s confirmed it reads correctly and fits the page
- Unchanged from source: the string wasn’t translated, either intentionally or because it hasn’t been picked up yet
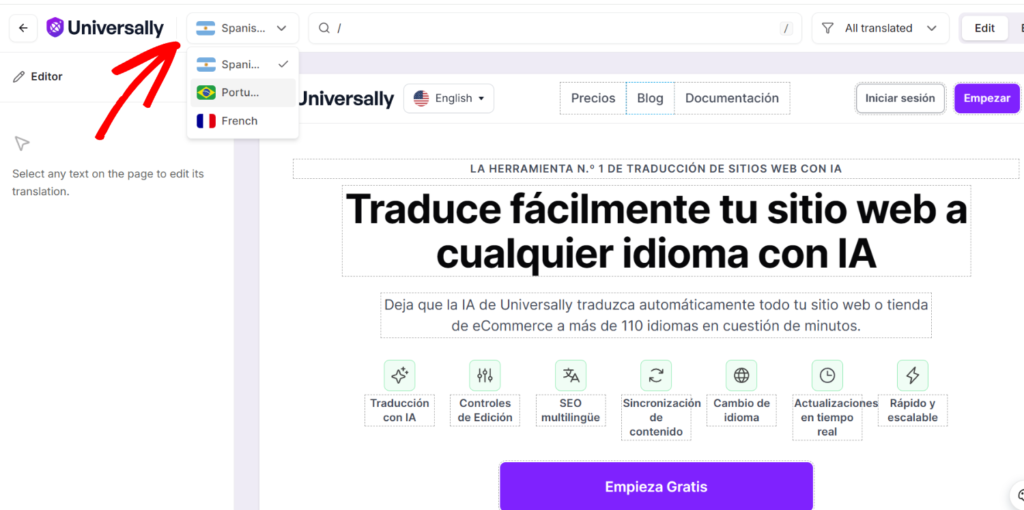
Working through a page by status, instead of scrolling top to bottom, makes it easy to see what still needs a second look and skip what’s already been checked.
Bonus: Pair the Visual Editor With Glossary Rules
If you find yourself fixing the same term over and over on different pages, that’s usually a sign it belongs in a glossary rule instead of a one-off edit.
A Keep rule locks a term in place across every language, no exceptions, which is the right call for brand names and product names. A Translate rule forces a specific wording you’ve approved, instead of leaving it to the AI’s default choice.
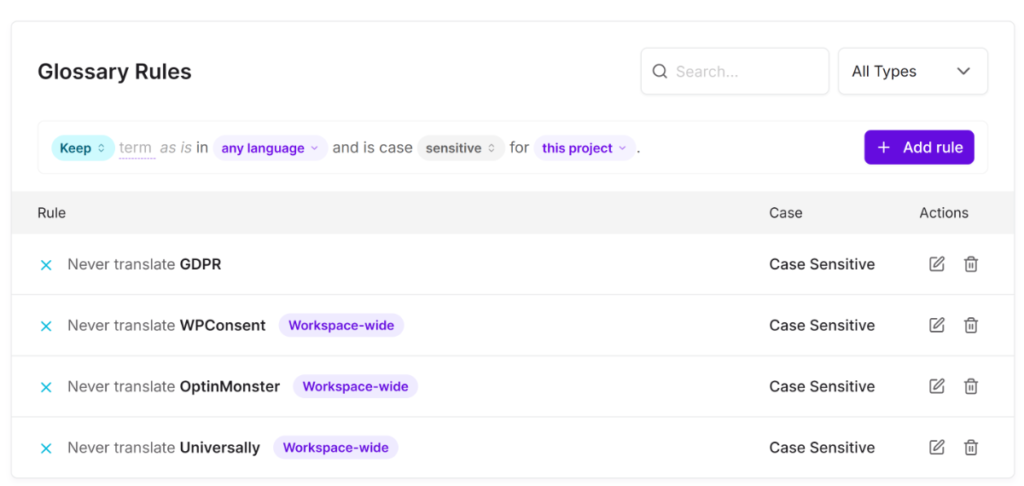
Set the rule once in your Universally dashboard’s Glossary tab, and it applies everywhere that term appears, on pages you’ve already translated and anything you publish afterward. That’s one fix instead of a dozen edits spread across your site.
See our full guide on how to set up a translation glossary in WordPress for the complete setup.
Common Mistakes When Editing Translations Visually
- Only checking the homepage. A layout problem on your pricing page or checkout won’t show up if that’s not the page you happened to open. Visit the specific pages that matter most before you call a language “done.”
- Reviewing one language and assuming the rest are fine. A string that fits perfectly in Spanish can still overflow in German. Use the language switcher to check each one, not just the language you’re most comfortable reading.
- Treating “AI-translated” as good enough without a second look. Grammatically correct and visually correct aren’t the same thing. A string can read perfectly and still break the layout it’s sitting in.
- Skipping a re-check after you update the source content. When you edit the original English content, the page gets retranslated the next time it’s visited, the same way any other page update works. Give it a quick pass after a content change instead of assuming your earlier edits still apply exactly as they were.
Frequently Asked Questions
1. Do I need a developer to edit translations in Universally?
Everything happens inside the Universally dashboard through the Visual Editor, so there’s no code to write and no theme files to touch.
2. Does the Visual Editor work on WooCommerce pages like cart and checkout?
The Visual Editor works on any page Universally translates, including cart, checkout, and product pages, so you can fine-tune dynamic WooCommerce content the same way you would a blog post or landing page.
3. What do the AI-translated, verified, and unchanged statuses mean?
AI-translated means the AI’s first pass hasn’t been reviewed yet. Verified means someone’s confirmed it’s accurate and fits the page. Unchanged from source means that string is still showing the original language, either because you’ve excluded it or it hasn’t been translated yet.
4. Will my edit stick if I update the source content later?
Editing the original content triggers a fresh translation the next time that page is visited, the same as any content update. It’s worth a quick re-check of pages you’ve previously fine-tuned after you make source-content changes, rather than assuming nothing shifted.
5. Can I switch between languages while I’m reviewing a page?
The Visual Editor has a language switcher built into the top of the interface, so you can flip between every language you’ve added without leaving the editor or reopening the page.
6. Do I need to touch any code to use the Visual Editor?
Setup, translation, and editing all happen inside the Universally dashboard, with nothing to install beyond the initial WordPress plugin connection.
Editing a translation used to mean either accepting whatever the AI gave you or opening a list of strings with no sense of how they’d actually look. The Visual Editor closes that gap. You see the real page, click what needs fixing, and fix it right there.
We hope this article helped you learn how to edit WordPress translations without touching code. You may also want to see our guide on how to translate the cart and checkout pages in WooCommerce and how to exclude specific pages from translation in WordPress.


Add a Comment