

You put real work into your Webflow site. The hero animation lands on cue, the type scale feels effortless, and every scroll interaction does exactly what you pictured.
Then someone asks for a French version. Suddenly that polished site turns into a to-do list that requires translating each page individually. And the moment you tweak a headline on the original, every translated copy is out of date.
The more care you put into a Webflow site, the more painful it is to translate one page at a time.
That’s why we’re thrilled to introduce Universally for Webflow.
Add one line of code to your site, and every page you designed can speak to visitors in 110+ languages. No duplicate pages to manage, no copy-pasting between versions, and no rebuilding the design you worked so hard on.
Go Multilingual From Your Webflow Site Settings
For a lot of Webflow users, translation is where the easy part ends. You design visually and publish in a click, then end up juggling exported text, separate versions of each page, or a developer’s time.
This is where integrating Universally with Webflow comes in!
Simply add a single script tag in your site-wide head code and translate all your pages in over 110 languages using the power of AI.
<script src="https://scripts.universally.com/p/YOUR_PUBLIC_KEY/s.js" async></script>To set it up, you can create a project in your Universally dashboard and choose Webflow as your platform.
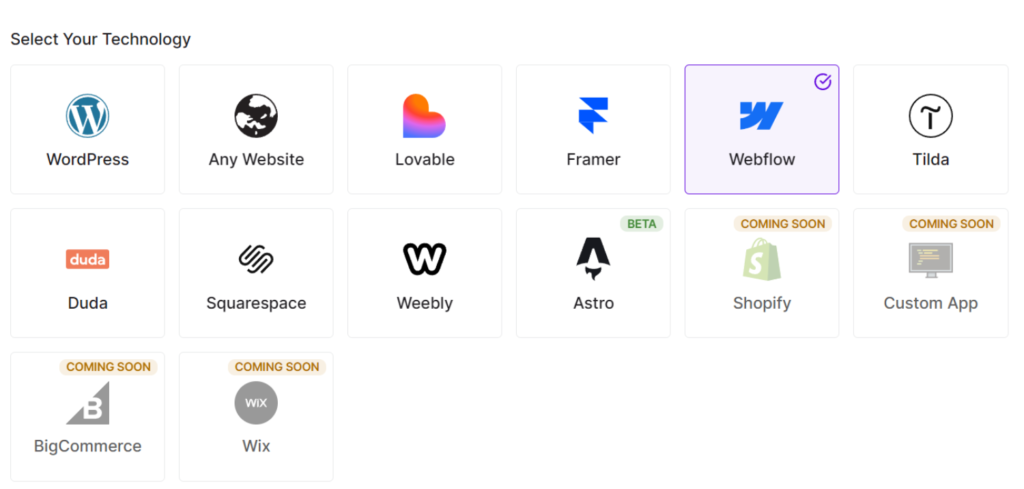
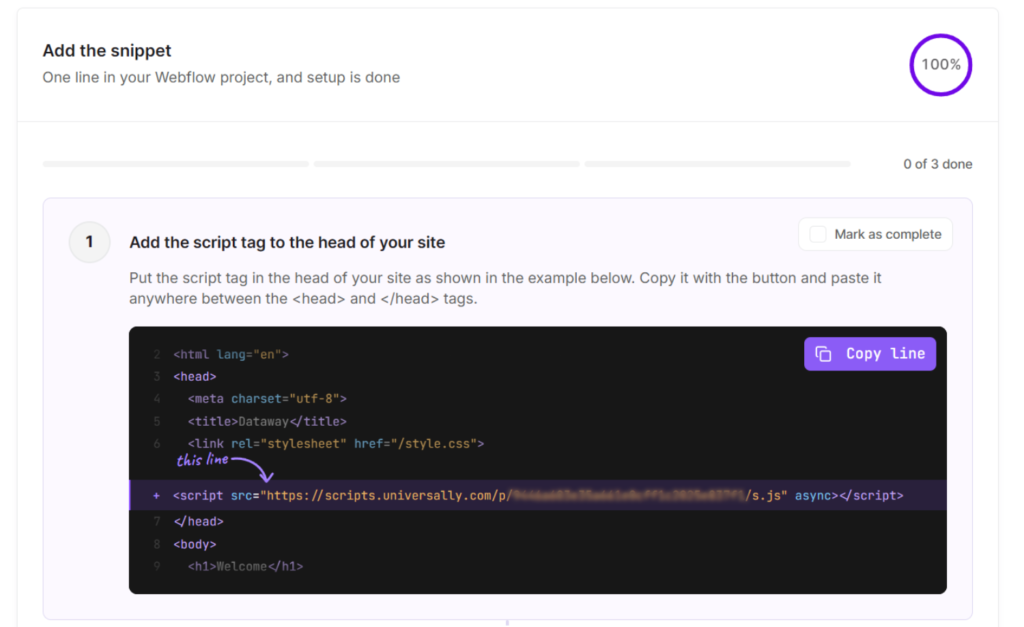
Universally then gives you the script tag for your site.
Go ahead and copy the script that you’ll need to add to the head section of your Webflow site.
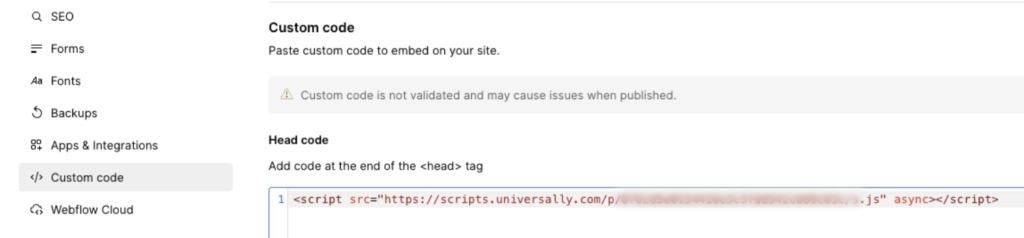
From there, open Site settings › Custom code › Head code in Webflow, paste the line, and click Save changes.
Be sure to use the site-wide field rather than a single page’s settings, so every page on your site is covered.
Once you publish your site, head back to Universally and click Check connection. Universally loads your home page, confirms the tag is in place, and you’re ready to pick your languages.
If you need more assistance, then please see our guide to installing Universally on Webflow.
Your Design Stays Exactly the Way You Built It
Webflow designers sweat the details: the spacing, the type scale, the interactions that make a site feel finished. A translation tool that asks you to rebuild or restructure any of it isn’t much of a shortcut.
Universally doesn’t touch your Webflow project. There’s no plugin, no server install, and no second set of pages to maintain for each language. Translations are applied in the visitor’s browser on the same pages, at the same URLs, so the site you designed is the site every visitor sees.
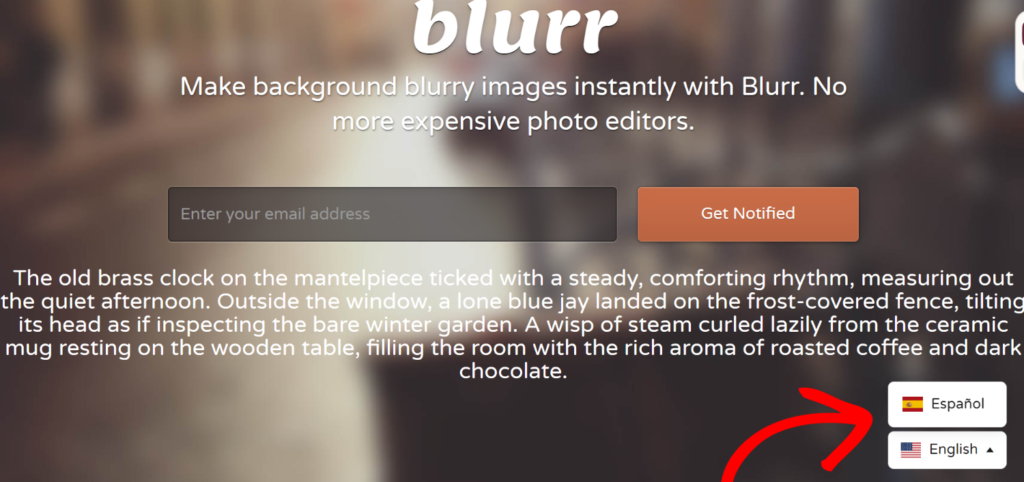
The only new element on the page is the language switcher, which ships inside the same script and sits in the bottom-right corner with flags and language names. Here’s how it looks on our demo Webflow website:
Because your URLs don’t change, your existing search rankings don’t either. Search engines keep indexing your original pages just as they do today.
Start Translating Your Webflow Website
Universally for Webflow is live now. Create a project, paste one line into your head code, publish, and your website is ready to speak to visitors in 110+ languages.
We’d love to hear how it works on your Webflow sites, especially if you’re rolling it out across client projects. If you run into anything or have ideas for what we should build next, get in touch.


Add a Comment