
If you run a WordPress blog, there’s a good chance some of your search traffic already comes from outside your home country. But when those visitors land on content they can’t easily read, many won’t stick around.
This is where offering your content in multiple languages comes in handy. However, translating a blog post used to mean picking a plugin, mapping out which fields need translating by hand, and hoping you didn’t miss the category labels or the author bio at the bottom.
It doesn’t have to work that way anymore.
In this guide, I’ll show you how to translate a WordPress blog post using an AI translation plugin that handles most of the work for you.
Why Translate Your WordPress Blog Posts
According to W3Techs, most of the internet’s readers don’t speak English as their first language, but most blog content is still written only in English.
As of mid-2026, English is still the content language on roughly half of the web, while only about a fifth of the world’s population speaks it, even counting people who learned it as a second language.
That gap between how much content exists in English and how many people can actually read it is the opportunity sitting in front of you every time you hit publish.
A translated blog post does two things at once. It lets readers in other countries actually understand what you wrote, and it gives you a shot at ranking in search results for that same content in their language. Neither happens if the post only exists in one language.
The content you already have is the fastest way to take advantage of this. You don’t need a new content calendar or a second writer. Translating a post you’ve already written turns it into a separate set of search rankings, usually in a language where you face far less competition than in English.
Plus, it helps build trust with your audience. A reader who lands on a post written in their own language is more likely to stick around, and click through to the links on your site, or subscribe. And it skips the friction of running everything through a browser translator that doesn’t create a proper indexable multilingual version for your SEO and misses context.
If you’re already getting traffic from other countries, even a handful of translated posts can turn a bounce into a subscriber.
Translating WordPress Blog Posts
When it comes to translating your blog posts, you’ll have two options: hire a translator to rewrite each post by hand, or use an AI translation tool that translates content as visitors request it.
Manual translation reads the most natural, but it doesn’t scale. Every new post is a new translation job, and every edit to an old post means going back to the translator again.
On the other hand, context-aware AI translations pick up on tone and meaning rather than swapping words one at a time, which means it can produce natural translations at a scale and speed that would be difficult to achieve manually.
That’s why I recommend Universally as the best solution to translate your blog posts on your WordPress website.
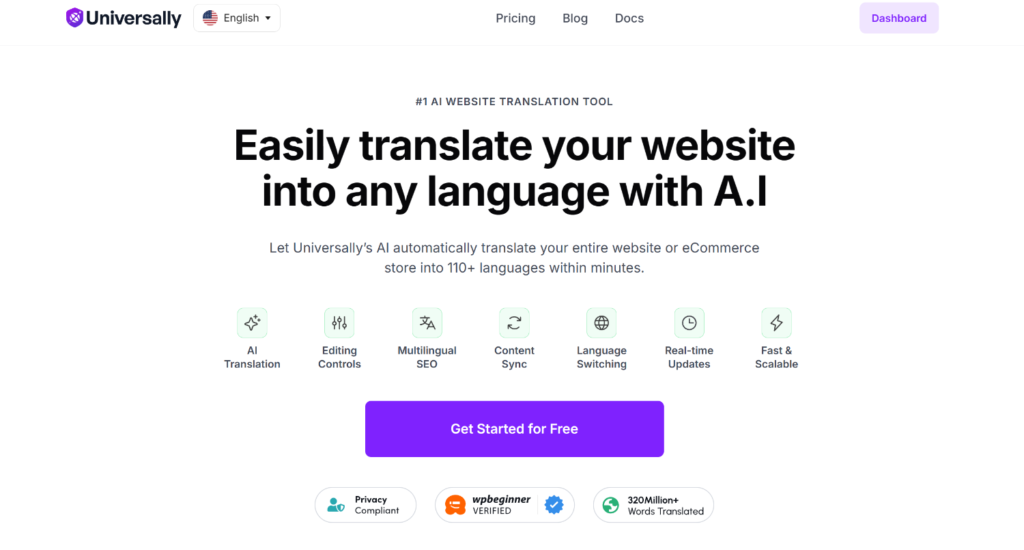
It is an AI translation tool built by the team behind WPBeginner, WPForms, and AIOSEO. It’s cloud-based, which means translated content is processed and served from an external layer instead of being written into your WordPress database.
This allows your site to stay just as fast after you add a fifth language as it was before you added your first. That architecture is also what makes the automatic, no-checklist behavior above possible.
Because Universally works at the page level instead of the post level, it doesn’t matter whether the text in front of it is a paragraph, a category label, or an author bio. If it’s visible on the page, the context-aware AI engine picks it up and translates it for meaning and tone, so the result reads like someone who actually speaks the language wrote it.
Besides that, here are some key features offered by Universally:
- Context-aware AI engine: Translates for meaning and tone, not word-for-word, so blog posts read naturally instead of sounding machine-generated.
- No manual checklist: Posts, categories, tags, author bios, and metadata all translate automatically as part of the page. Nothing to configure per post.
- Automatic multilingual SEO: hreflang tags, translated meta titles and descriptions, and multilingual sitemaps are handled without you touching a settings screen.
- Language switcher included: Appears automatically once a language is added, and you can customize its position and style.
- No database bloat: Translations are processed and served from Universally’s cloud, so your WordPress database stays untouched.
- AI-Powered Glossary: Lock in your brand name, product names, and any terms you never want translated.
That said, let’s look at how you can set up Universally and translate your blog posts.
Step 1: Create Your Project and Add a Language
To start, head over to Universally and sign up for a new account. You can start on the free plan, which covers 2,000 translated words in one language with no credit card required, or go straight to a paid plan starting at $7.50/month if you know you’ll need more.
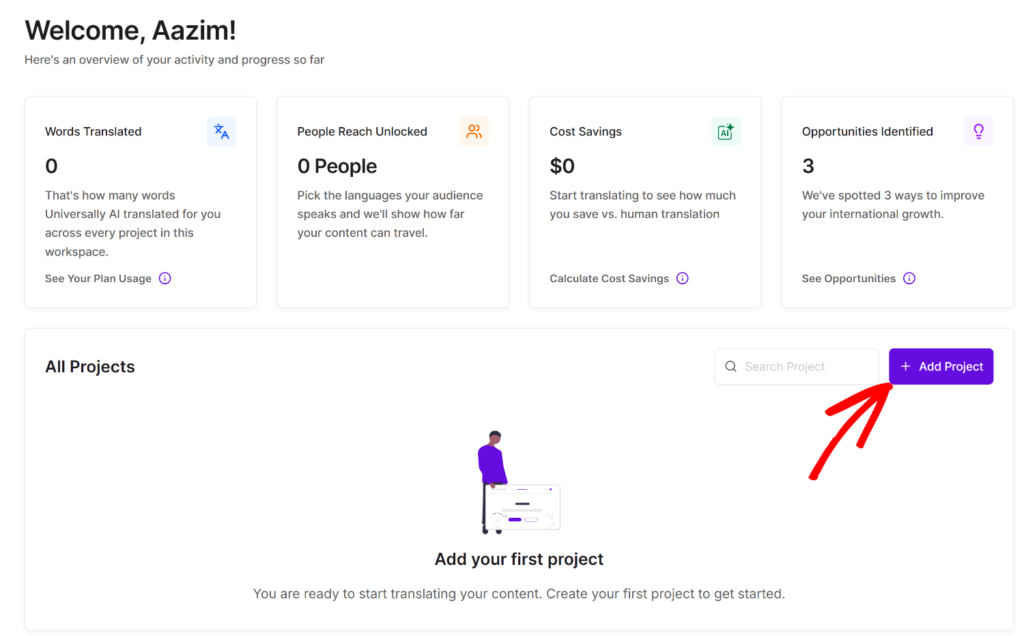
Once you’re in the Universally dashboard, create a project for your site. Simply click the + Add Project button.
Next, you’ll need to give it a name, your domain, and the source language your blog is currently written in.
That last part matters: it tells Universally what it’s translating from, and getting it wrong leads to poor translations rather than an error message.
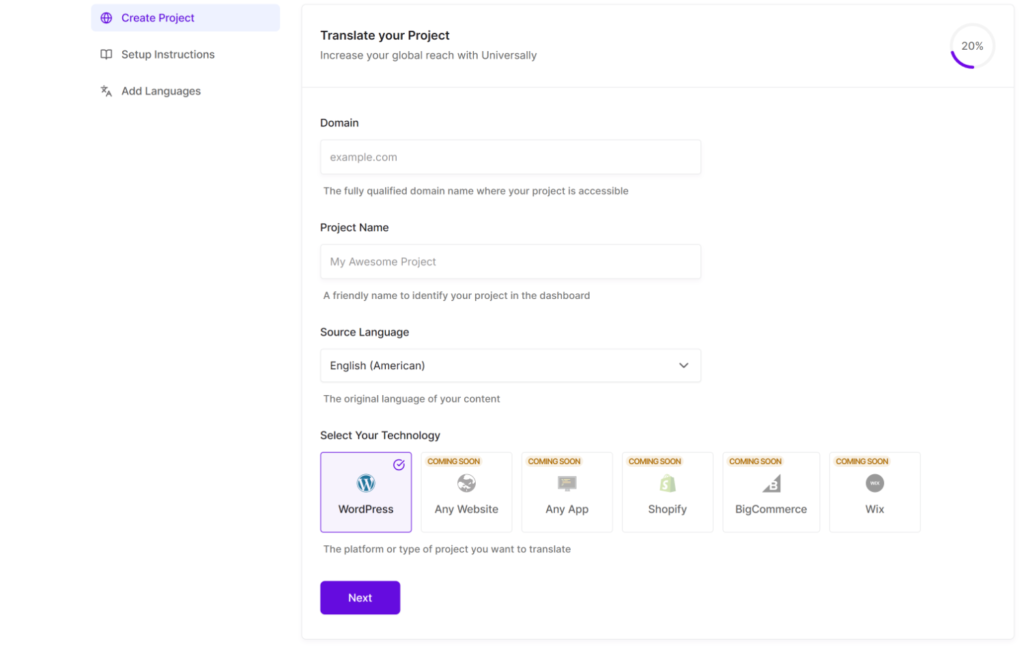
After entering the details, choose WordPress under the ‘Select Your Technology’ section and click the Next button.
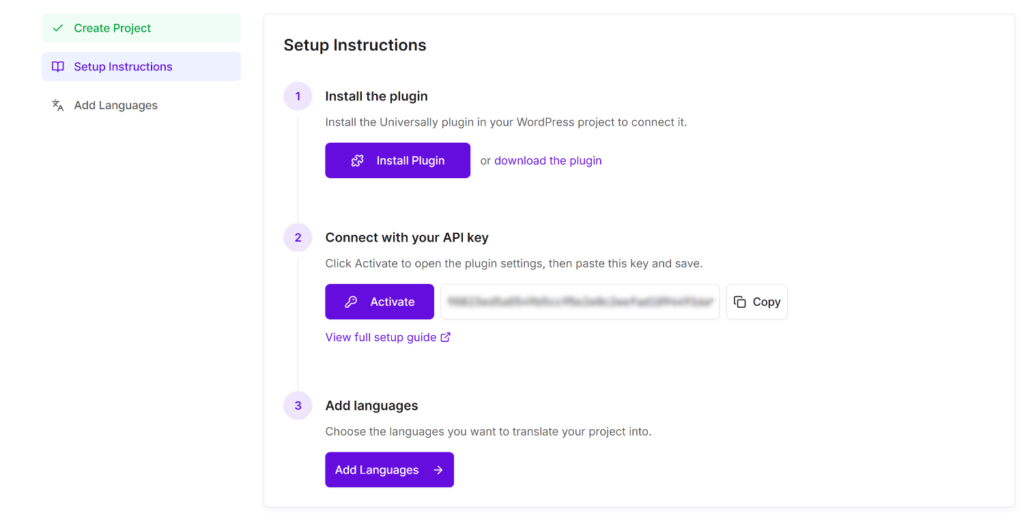
On the following screen, you’ll see instructions for setting up Universally on your WordPress website. Simply click the ‘Install Plugin’ button or click the ‘download the plugin’ link to save the plugin .zip file on your computer. I’d also recommend copying the API key just in case and keeping it handy.
Step 2: Install and Connect the Plugin
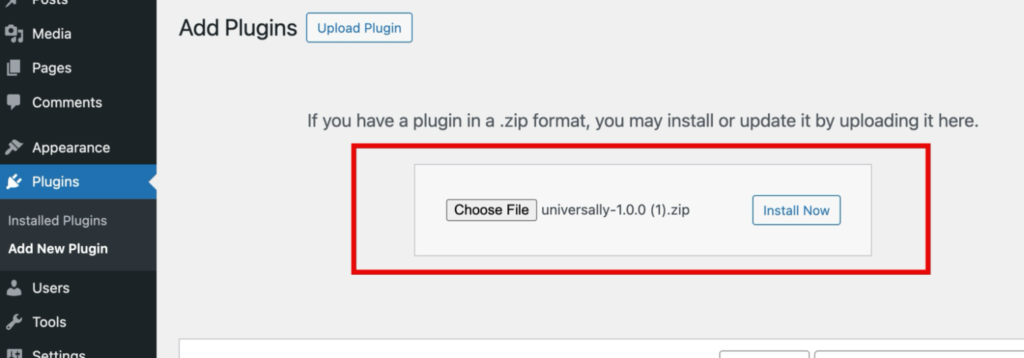
Next, from your WordPress dashboard, go to Plugins » Add Plugin, upload the plugin files, then install and activate it.
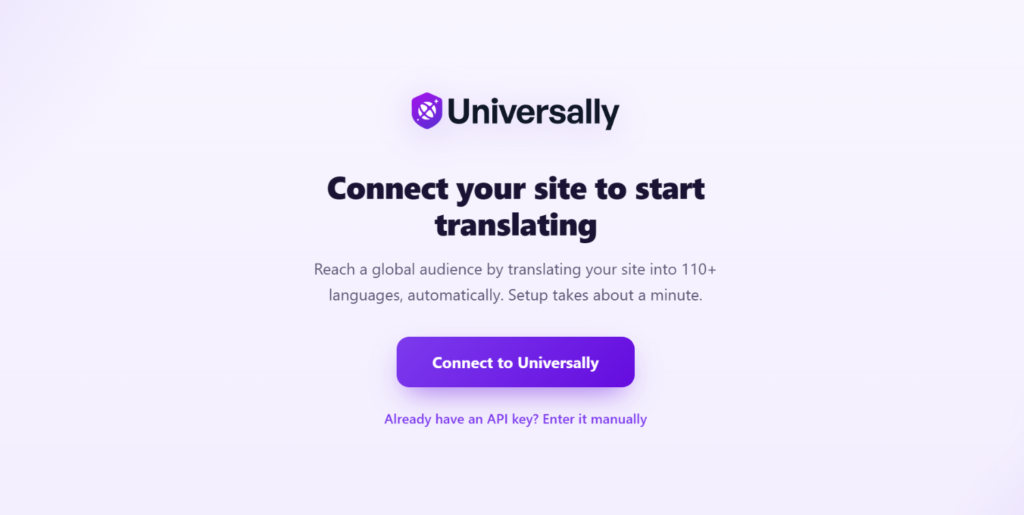
Activating the plugin opens a setup wizard flow automatically.
You can click Connect to Universally, follow the onscreen instructions, and it signs you in and connects your site without you needing to touch an API key at all.
Step 3: Add a New Language for Translation
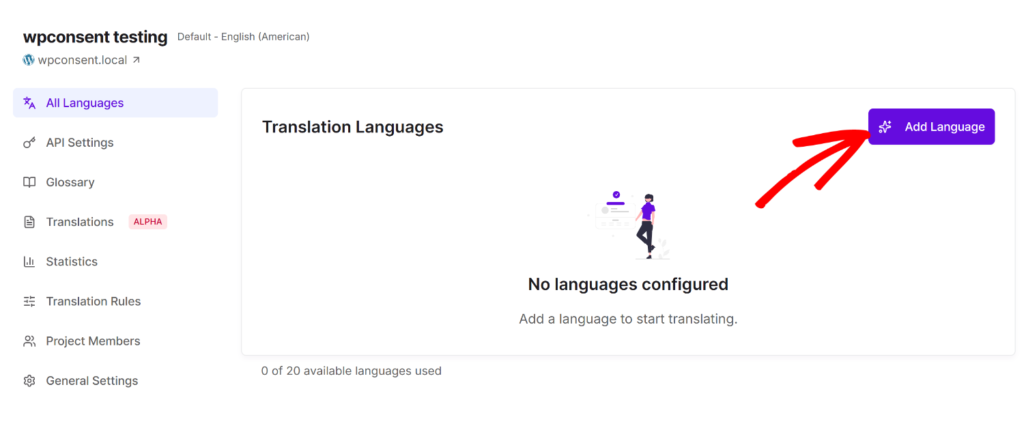
Next, you can head to your Universally dashboard and go to All Languages.
From here, simply click the Add Language button.
A popup window will now open where you can select your target language.
You can choose from a dropdown list of 110+ supported languages.
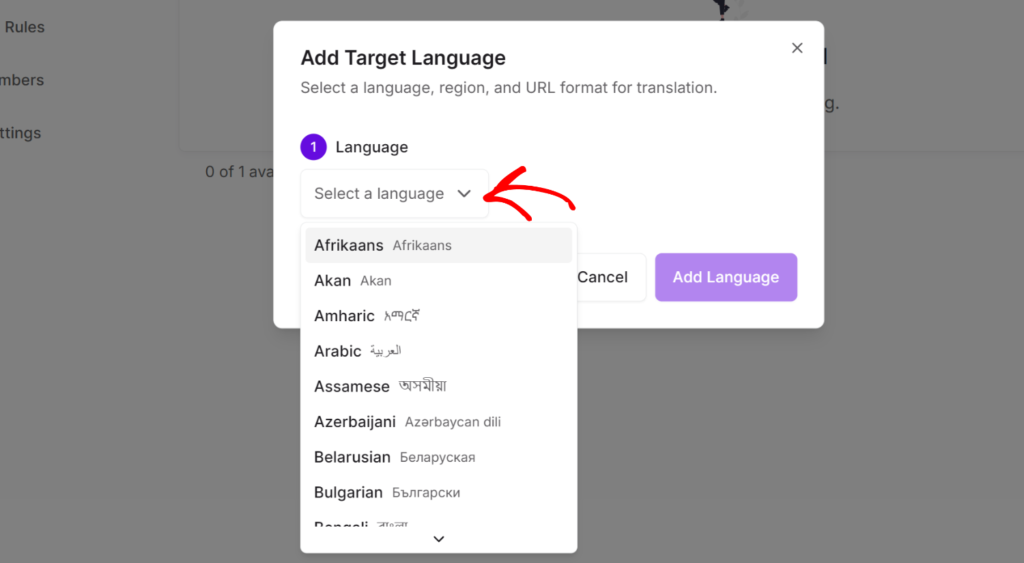
Once you’ve selected a language, you will need to set the region and URL format.
- Region: In this setting, you can target specific regions for languages spoken in multiple countries. For example, you can distinguish between French for France and French for Canada, or Portuguese for Brazil and Portuguese for Portugal.
- URL Format: This controls how your translated pages appear in the URL. For multilingual SEO, the subdirectory format is what Google recommends. For instance, your Portuguese pages will live at
yoursite.com/pt/, your German pages atyoursite.com/de/, and so on. Universally uses this format by default, and it’s what the hreflang tags will reference.
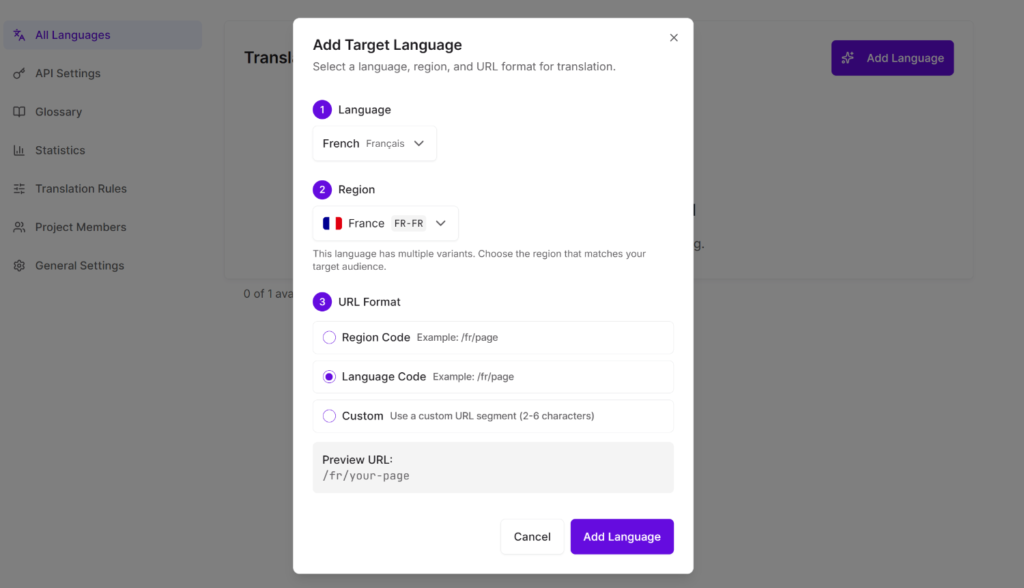
When you’re done, go ahead and click the Add Language button.
That’s it, you can now repeat this step and add additional languages to translate your WordPress blog posts.
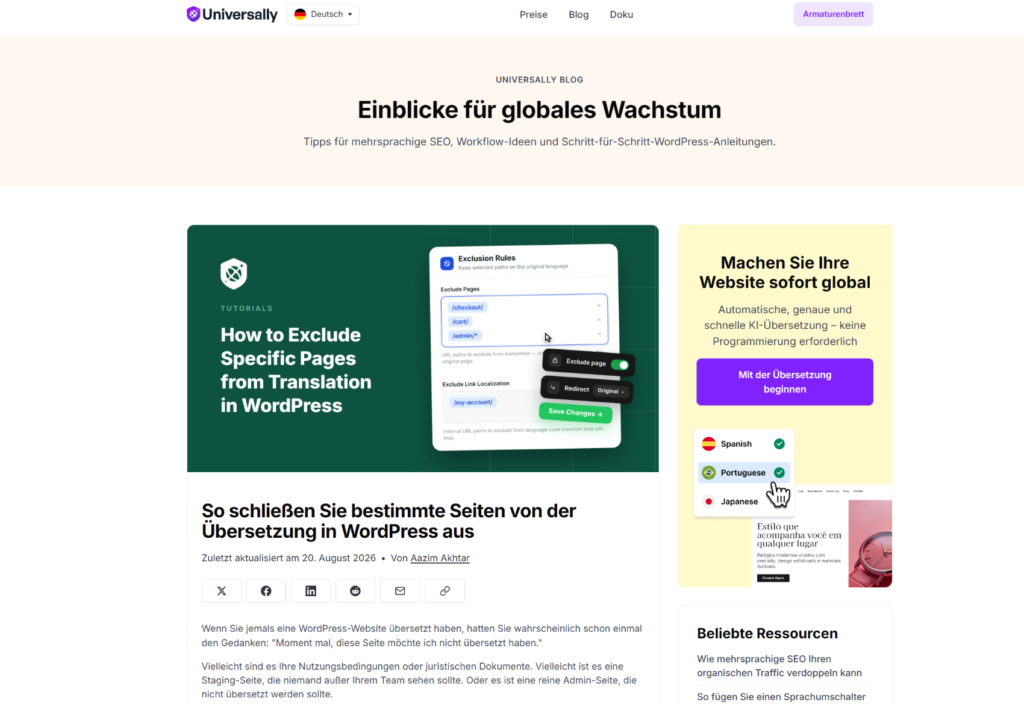
Universally will now start to translate your blog posts, landing pages, menu items, button text, image alt tags, WooCommerce product descriptions, and more automatically.
That said, Universally also allows you to exclude specific pages from translation. For example, you might want to skip certain blog posts, legal pages, internal documents, staging pages, or admin-only sections of your website from translation.
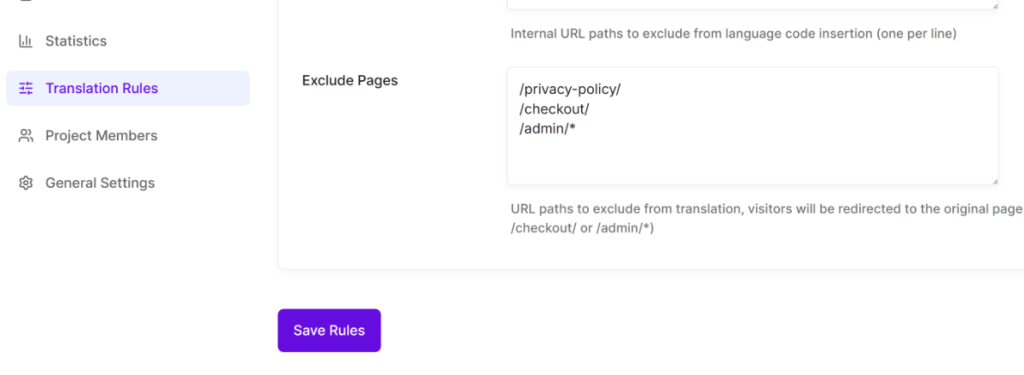
Step 4: Visit Your Blog Post in the New Language
Now that the translation is live, you can go to your site with the language prefix added to the URL, like /es/ for Spanish or /de/ for German, followed by your blog post’s path.
Next, you can check that the switcher shows up on your pages so readers can change languages themselves without editing the URL.
For example, on Universally, you can see the language switcher in the top left corner of the website.
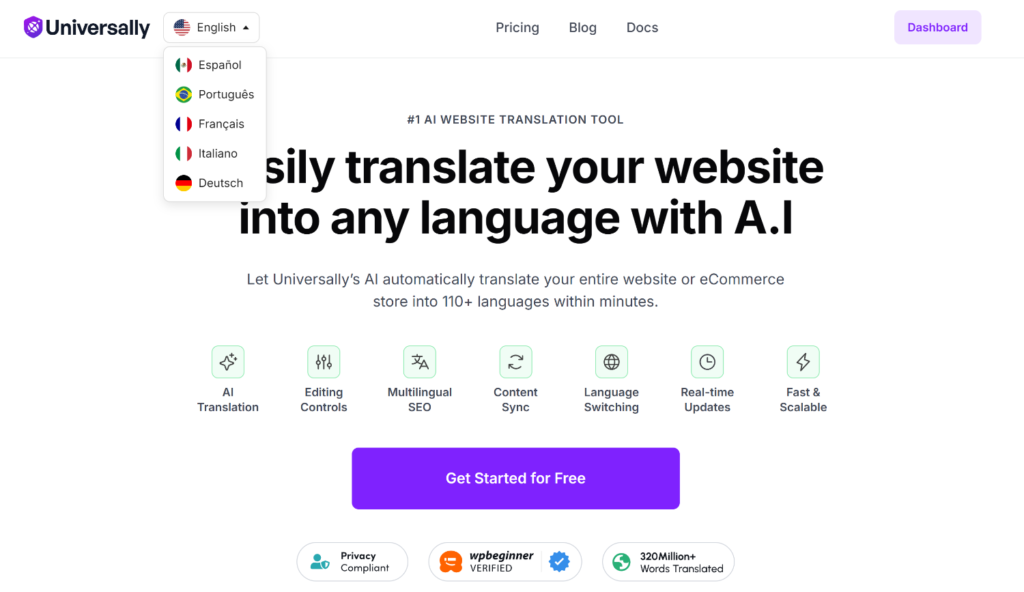
If I change the language from English to German, the text automatically switches.
Not only that, but also the menus, button text, and banner text get translated.
For more details, please see our guide on how to add a language switcher to WordPress.
Bonus: How to Know Which Languages to Translate Into
Before you translate anything, check where your current readers actually come from.
The easiest way to do that is in Google Analytics. Simply go to Reports » User » User attributes » Demographic details.
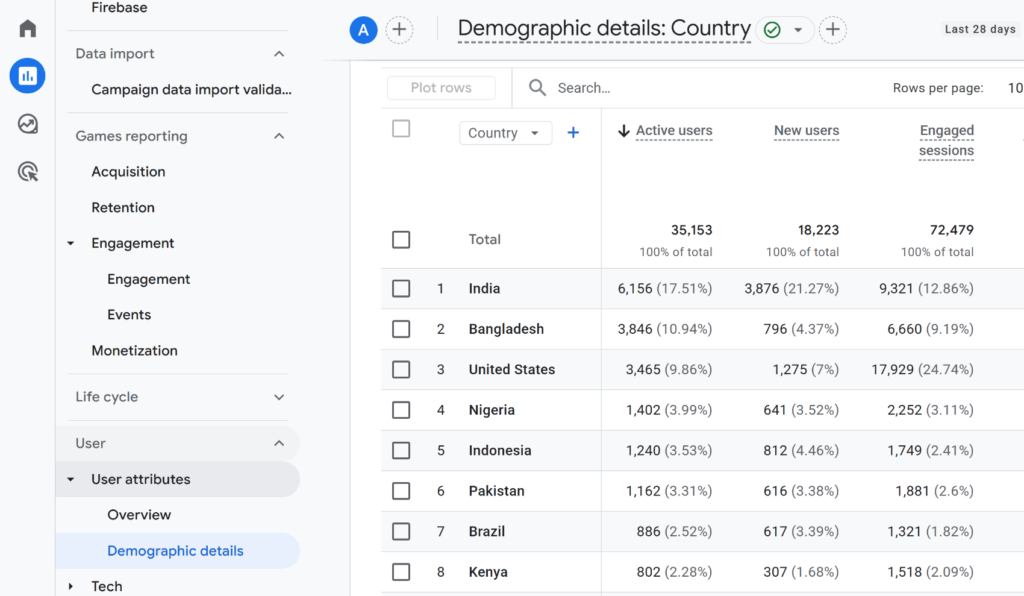
In this report, you should see traffic from different countries. For example, if you’re seeing steady traffic from India or Mexico, that tells you exactly where to start.
You don’t need to guess, and you don’t need to translate into ten languages on day one. Start with the one or two languages your data already points to.
FAQs About Translating WordPress Blog Posts
1. Do I need to translate every blog post on my site?
The short answer is no. But start with your best-performing posts, or those already attracting traffic from other countries, based on your analytics. You can expand from there once you see it’s working.
2. Does translating my blog post hurt my SEO?
No, as long as it’s set up correctly. Each translated version needs its own URL and proper hreflang tags so search engines treat it as a language variant, not duplicate content. Universally generates hreflang automatically, avoiding this problem entirely.
3. Will I need to manually translate my categories and tags?
Not if you’re using a tool that translates the full page automatically. Categories and tags are just visible text on the page, so they translate along with the post title and body without any separate setup.
4. What happens if I edit a blog post after it’s already translated?
The updated content gets picked up and translated again automatically the next time that page is visited in each language. You don’t need to redo the translation manually.
5. Can I fix a translation that doesn’t sound right?
Yes. You can edit any translated string by hand from your dashboard, and a glossary rule can lock in specific terms so they translate the same way every time.
Translating a blog post for international readers doesn’t have to mean a checklist of parts to remember. Set the language once, and the post, its categories and tags, and its author bio all follow.
I hope this article helped you learn how to translate a WordPress blog post for international readers. You may also want to see our guide on how to create a multilingual WooCommerce store and our list of the best WooCommerce translation plugins.


Add a Comment