
If you’ve ever translated a WordPress site, you’ve probably had a moment when you thought, “Wait, I don’t want that page translated.”
Maybe it’s your terms of service or legal documents. Maybe it’s a staging page nobody outside your team should even see. Or it is an admin-only page that shouldn’t be translated.
If you’ve been in a similar situation, then you are not alone. Some pages just shouldn’t be translated, and you shouldn’t have to choose between “translate everything” and “translate nothing” to handle it.
In this guide, I’ll walk you through how to exclude specific pages from translation in WordPress using Universally.
Why You’d Want to Exclude a Page From Translation
Once you exclude pages from translation, they stay in the language you wrote them in, regardless of the language a visitor has chosen for the rest of the site.
Here’s when that actually matters:
Your legal pages are probably the biggest reason to do this. Terms of service, privacy policies, disclaimers, this stuff often needs to hold up exactly as written for it to mean anything legally.
An inaccurate translation could create confusion, so legal content should only be translated using wording that has been properly reviewed.
Checkout pages on your eCommerce store can be another one. Some store owners keep their payment pages untranslated on purpose, since a mismatch between what a customer sees and what actually gets submitted at checkout is not a fun bug to chase down.
And then there are pages that not many people visit or have public access, like staging pages, internal docs, and admin-only areas. There is little reason to use your translation allowance on pages that customers are not intended to visit.
Let’s see how you can easily exclude pages from translation without editing code or your website theme files.
Exclude Specific Pages From Translation in WordPress
Most translation plugins just translate everything and shrug if you want an exception. Universally lets you pick exactly which pages to leave out, right from the dashboard, no code involved.
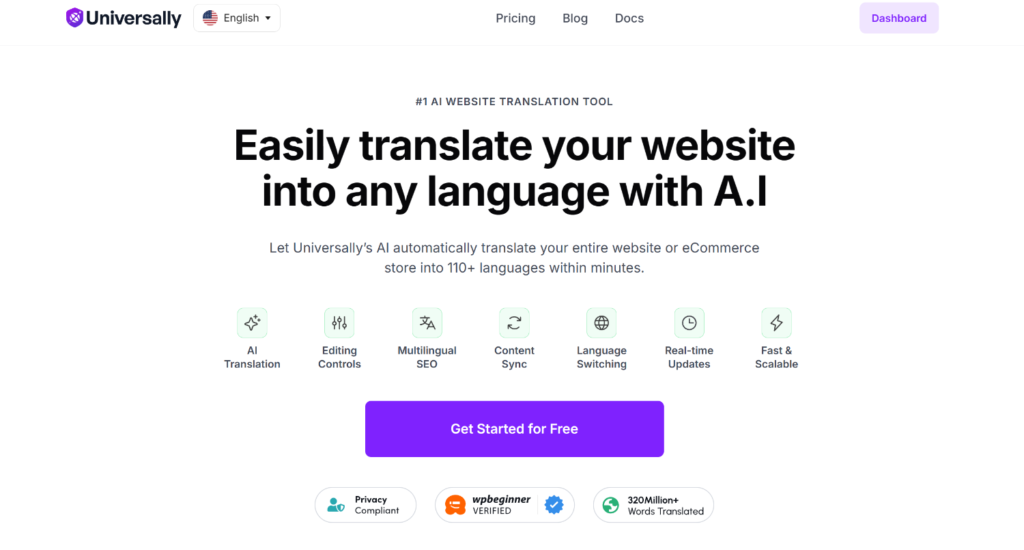
It is the best AI translation tool that helps you translate content into 110+ languages. With Universally, you can instantly translate your entire WordPress site or WooCommerce with advanced AI that understands context and maintains your brand voice.
The best part is that Universally makes it super easy to leave out certain pages from translation. You can exclude specific pages with a URL path, or grab a whole chunk of your site at once with a wildcard, like everything under /admin/*.
Once saved, the exclusion rule applies automatically across all of the languages enabled for that website, so you’re not manually checking pages after the fact.
It also plays nicely with translation glossary rules, which is a separate feature for locking in specific words like your brand name. Exclusion handles whole pages you don’t want touched at all; glossary rules handle specific words on pages you do want translated. They don’t step on each other
Here’s how you can get started.
Step 1: Create Your Universally Account
First, head to the Universally website and sign up for a new account. The premium plans start from $7.50/month with a 14-day money-back guarantee. A free plan is also available if you just want to test things out first, as it covers 2,000 translated words in one language.
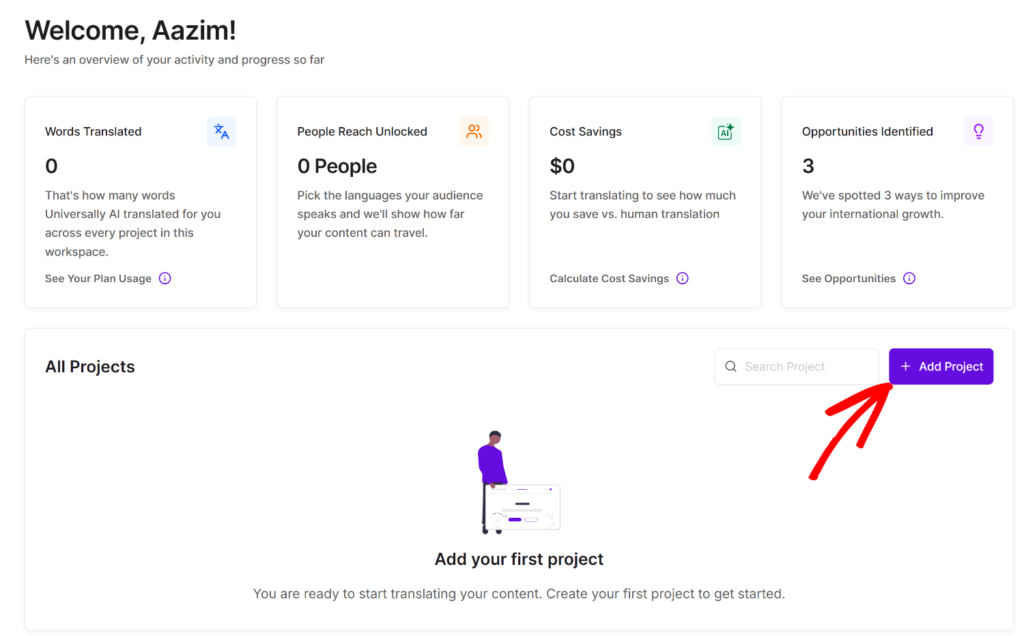
Once your account is created and you’re in, click + Add Project to connect your website.
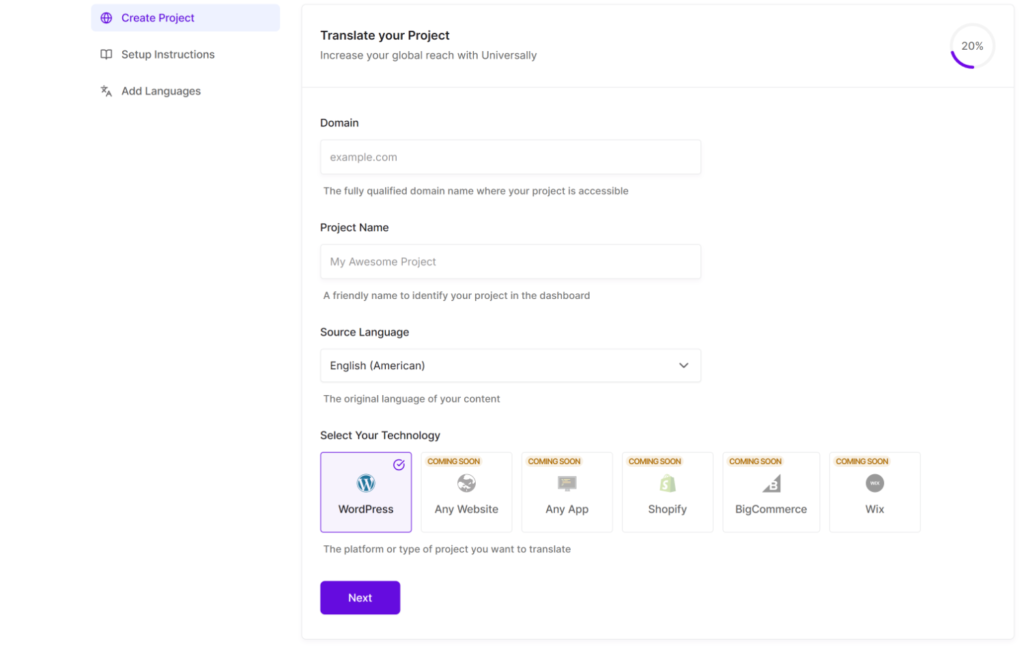
From here, you’ll need to fill in details like your domain, give the project a name, and set your source language.
Then, you can pick WordPress under “Select Your Technology” and hit Next.
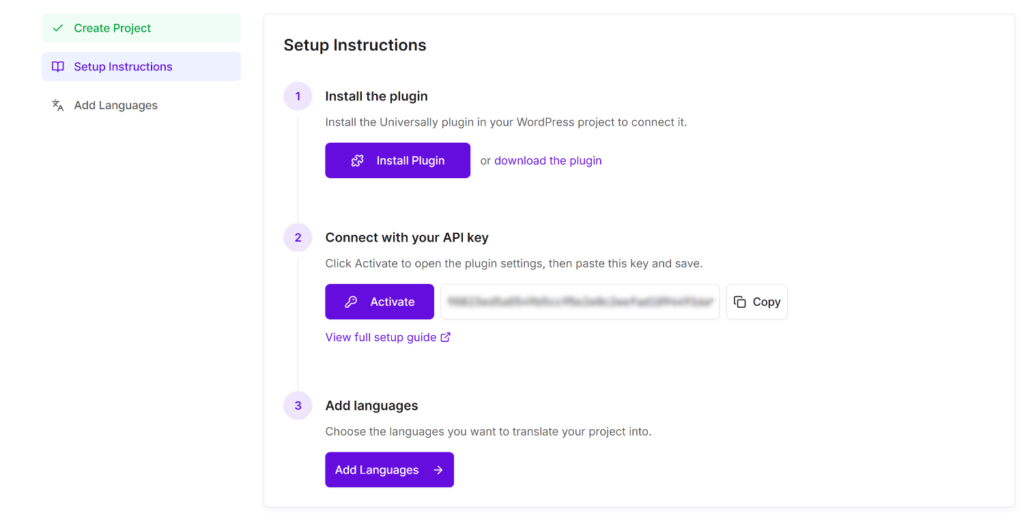
On the following screen, you’ll see instructions for setting up Universally on your WordPress website.
Simply click the ‘Install Plugin’ button or click the ‘download the plugin’ link to save the plugin .zip file on your computer.
Step 2: Connect Universally to WordPress
Next, you will need to connect your WordPress site to Universally. Go ahead and upload the plugin files and then install the plugin.
If you need help, then please see this guide on how to install a WordPress plugin.
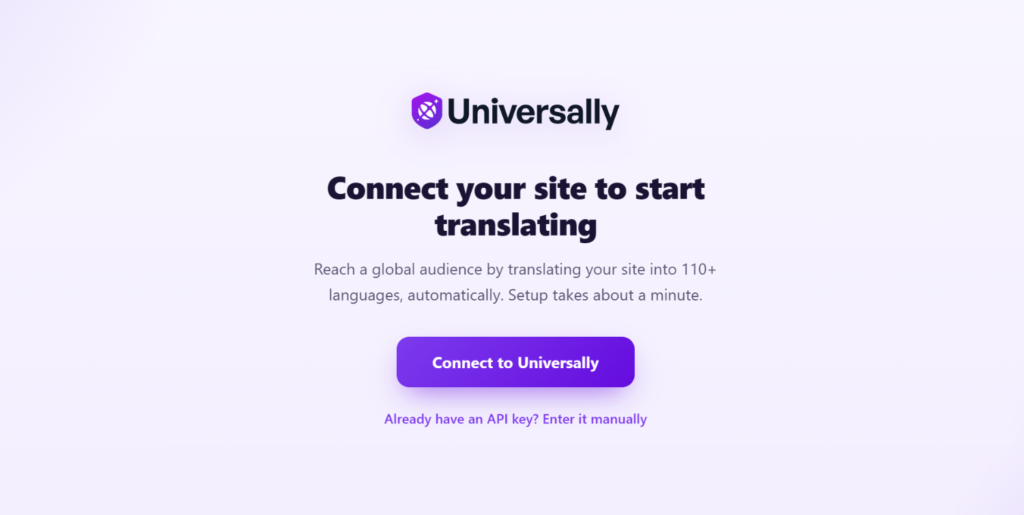
Upon activation, you’ll land on a welcome screen. You can click Connect to Universally and follow the instructions in the setup wizard.
We’ve got a full walkthrough of this in our multilingual WordPress site guide if you want more detail.
Step 3: Add Your Excluded Pages
Once Universally is up and running, head into your project in the Universally dashboard.
From there, you can go to the Settings tab at the top and switch to Translation Rules.
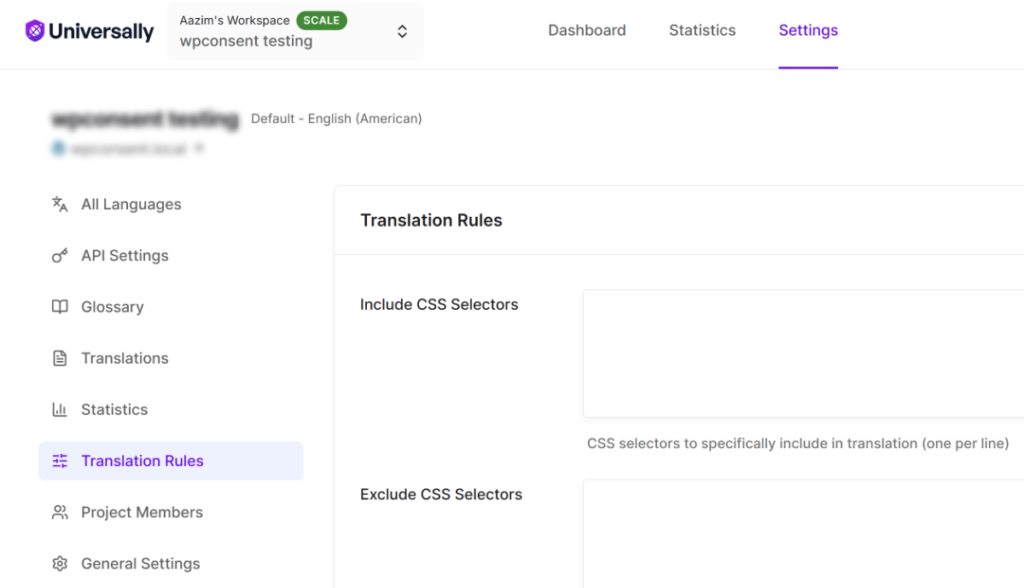
Next, you can scroll down to the Exclude Pages section.
Here, type in the URL path of any page you want left alone from translation, one per line:
- Want to exclude just one page? Use the exact path, like
/privacy-policy. - Want to exclude a whole section? Use a wildcard, like
/admin/*, and it covers everything under it.
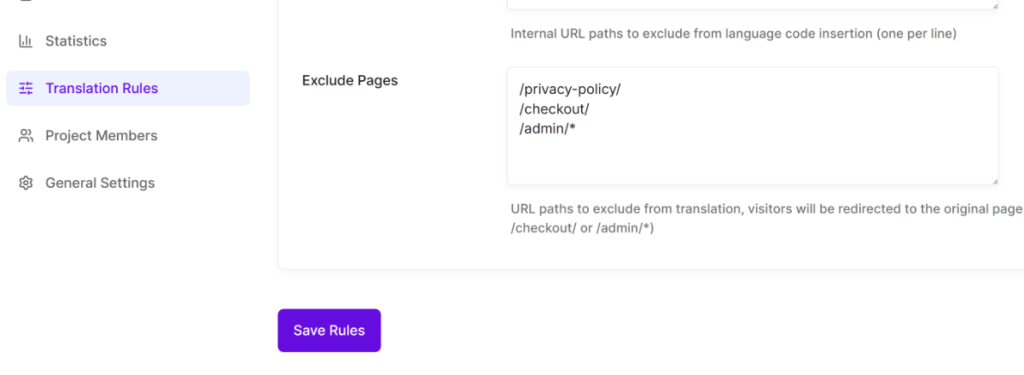
When you’re done, simply click Save Rules.
That’s it. Any page that matches stays in its original language, regardless of the language your other visitors are browsing in.
To double-check if everything is working, switch your site to another language using your language switcher and pull up the pages you just excluded. They should still be showing in the original language.
Bonus: Tips for Excluding Pages from Translation
If you’re only going to exclude one thing, make it your legal pages. Legal content requires particular care because small wording changes may affect how it is understood.
Don’t add pages one by one if you don’t have to. If you’ve got a whole folder of admin pages, one wildcard rule covers all of them, including any new ones you add later under that same path.
If you’re running a WooCommerce store, talk to whoever handles your payments before you exclude checkout. It’s a real decision with real consequences for customers buying in other languages, not something to just set and forget.
And if you ever restructure your site, take a second look at your exclusion list. A page that moves to a new URL won’t automatically stay excluded unless the new path happens to fall under an existing rule.
Frequently Asked Questions
1. How do I exclude a specific page from translation in WordPress?
Go to your Universally dashboard, open your project’s Settings tab, and find Exclude Pages. Add the page’s URL path there, either the exact path or a wildcard, and it stays in its original language no matter what language a visitor picks.
2. Should I exclude my privacy policy and terms of service from translation?
Translating a legal document can change its legal standing in some countries, so if your terms need to hold up exactly as written, it’s worth excluding those pages.
3. Does excluding a page mess with my WooCommerce checkout?
Excluding checkout is actually pretty common, since translation can create a mismatch between what a customer sees and what gets submitted. Whether you should do it is worth a conversation with your team, not something to assume either way.
4. Can I exclude a bunch of pages at once instead of one at a time?
Exclude Pages takes one path per line, so you can list as many exact pages as you need, or use a wildcard to cover a whole section of your site in one shot.
5. Do I need to touch any code to do this?
It’s all done inside the Universally dashboard, so you don’t need to edit theme files or add code snippets.
If you’ve got legal pages, a checkout flow, or internal pages on your site that have no business being translated, this is a quick fix, and it’s a lot easier to set up now than to clean up after something gets translated that shouldn’t have been.
We hope this article helped you learn how to exclude pages from translation in WordPress. You may also want to see our guide on how to add hreflang tags in WordPress and why legacy translation plugins are quietly killing your website’s performance.


Add a Comment